
Halloween
I’m not THAT into Halloween. I don’t like scary things, and I’m way too old for trick-or-treating (although decidedly NOT too old for fun-sized candy bars).
Yes, Nick and I have done some PRETTY cute couples costumes over the years (Wall-E and Eve? The guy and the boy scout from Up? The nurse and the sailor from the LIFE cover? It’s ok, I’m throwing up a little, too). BUT, we also got mugged on our way back from a Halloween party, so it’s lost just a little appeal. This year, I’d be willing to bet money Nick will be asleep by 8pm (jet-lag, y’all), and I will probably do what I do almost every night- listen to podcasts and work on maps/flowers/dresses/etc.
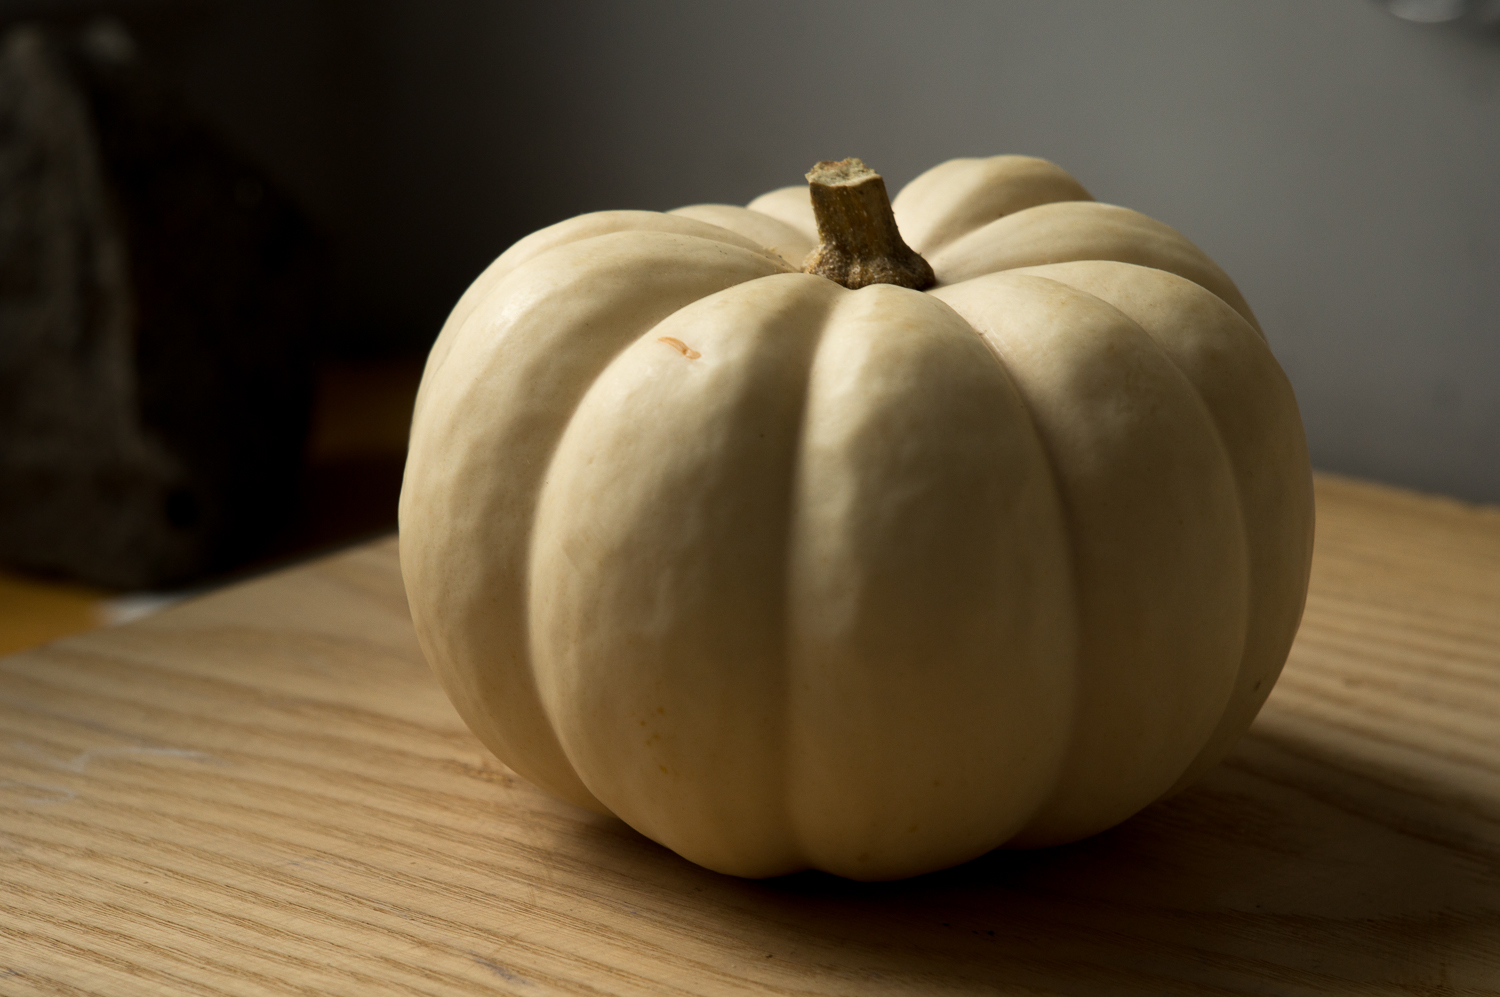
A couple weeks ago, though, I was at Trader Joe’s and spotted a display of mini-gourds. Like most white people, I can’t resist a little bit of seasonal fall decor, so I bought a single ivory mini-pumpkin. I put it on the cabinet in the bathroom- I check on it every once in a while to make sure it’s not rotting, and then return it to its little spot.
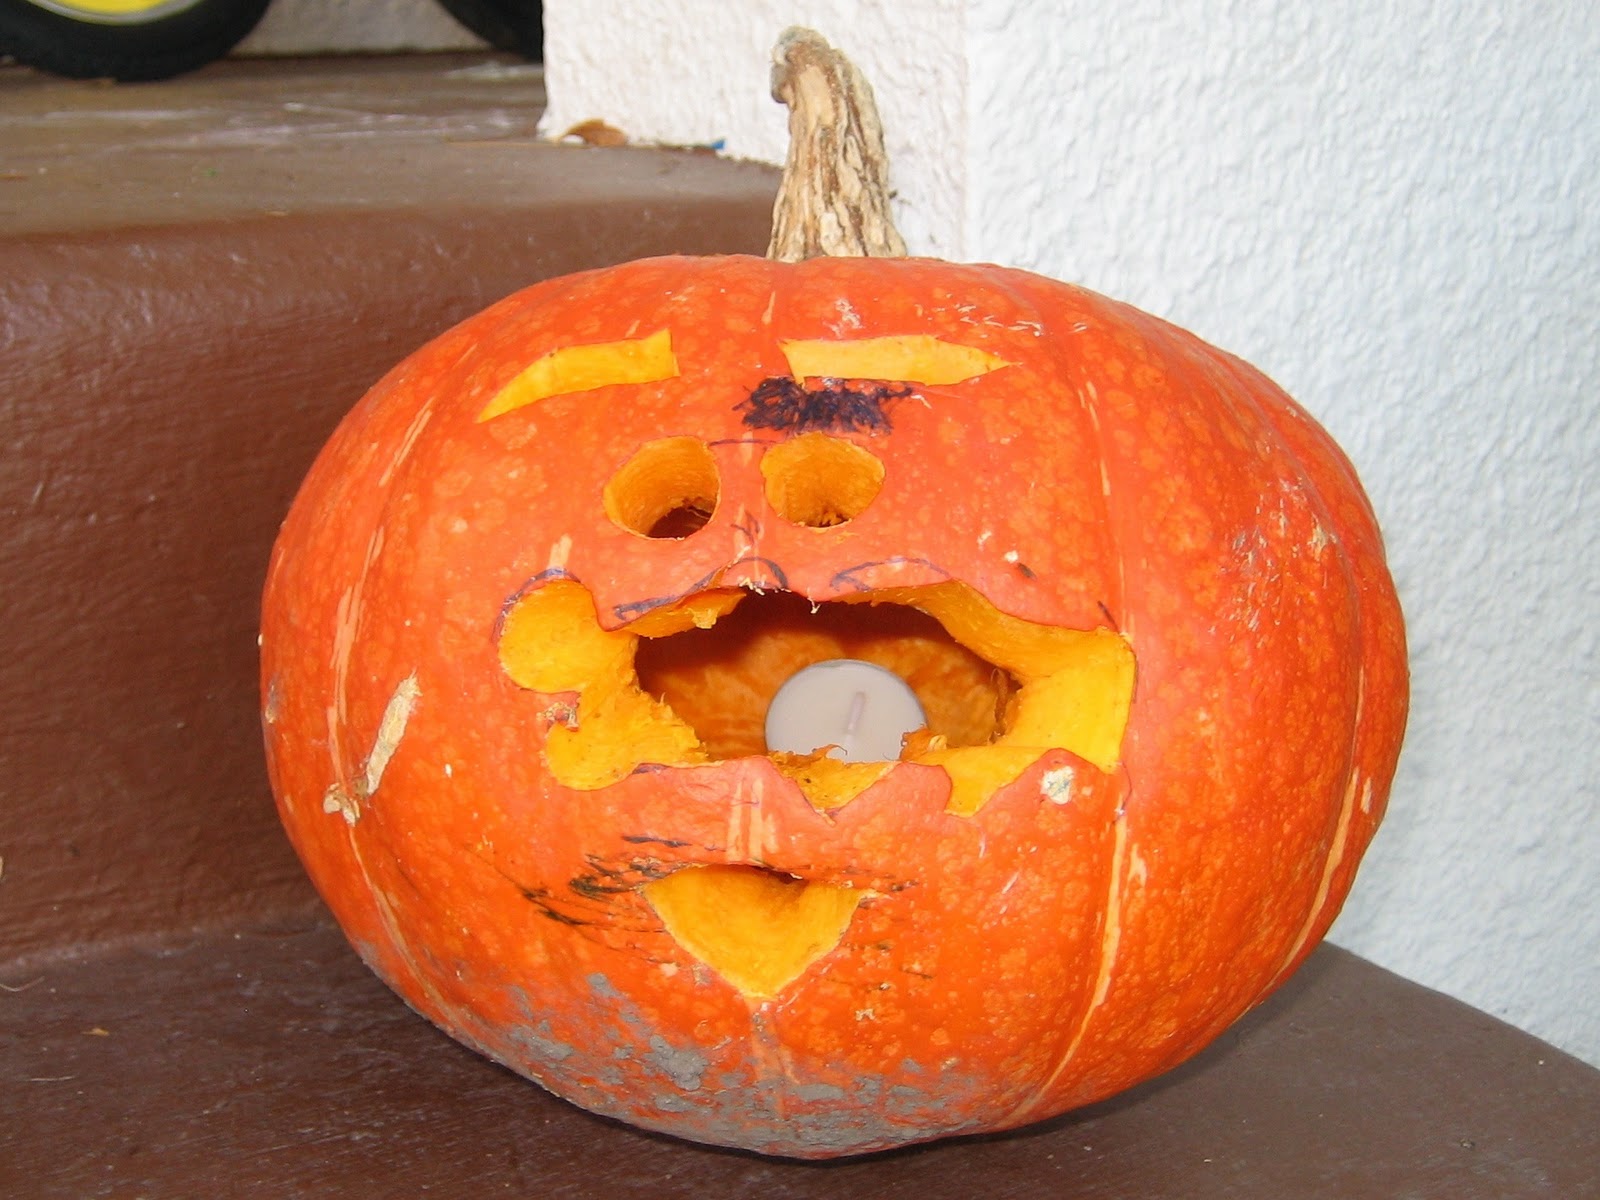
But today, the little pumpkin was calling out to me. I knew there was no way I was going to attempt to carve it, because I’m a Halloween-themed Scrooge and hate pumpkin carving. It’s so messy, and the results are usually pretty terrible because- spoiler alert- pumpkin carving is VERY hard. You start out like this with delusion of recreating Mount Rushmore in pumpkin-form, and you usually end up with this.
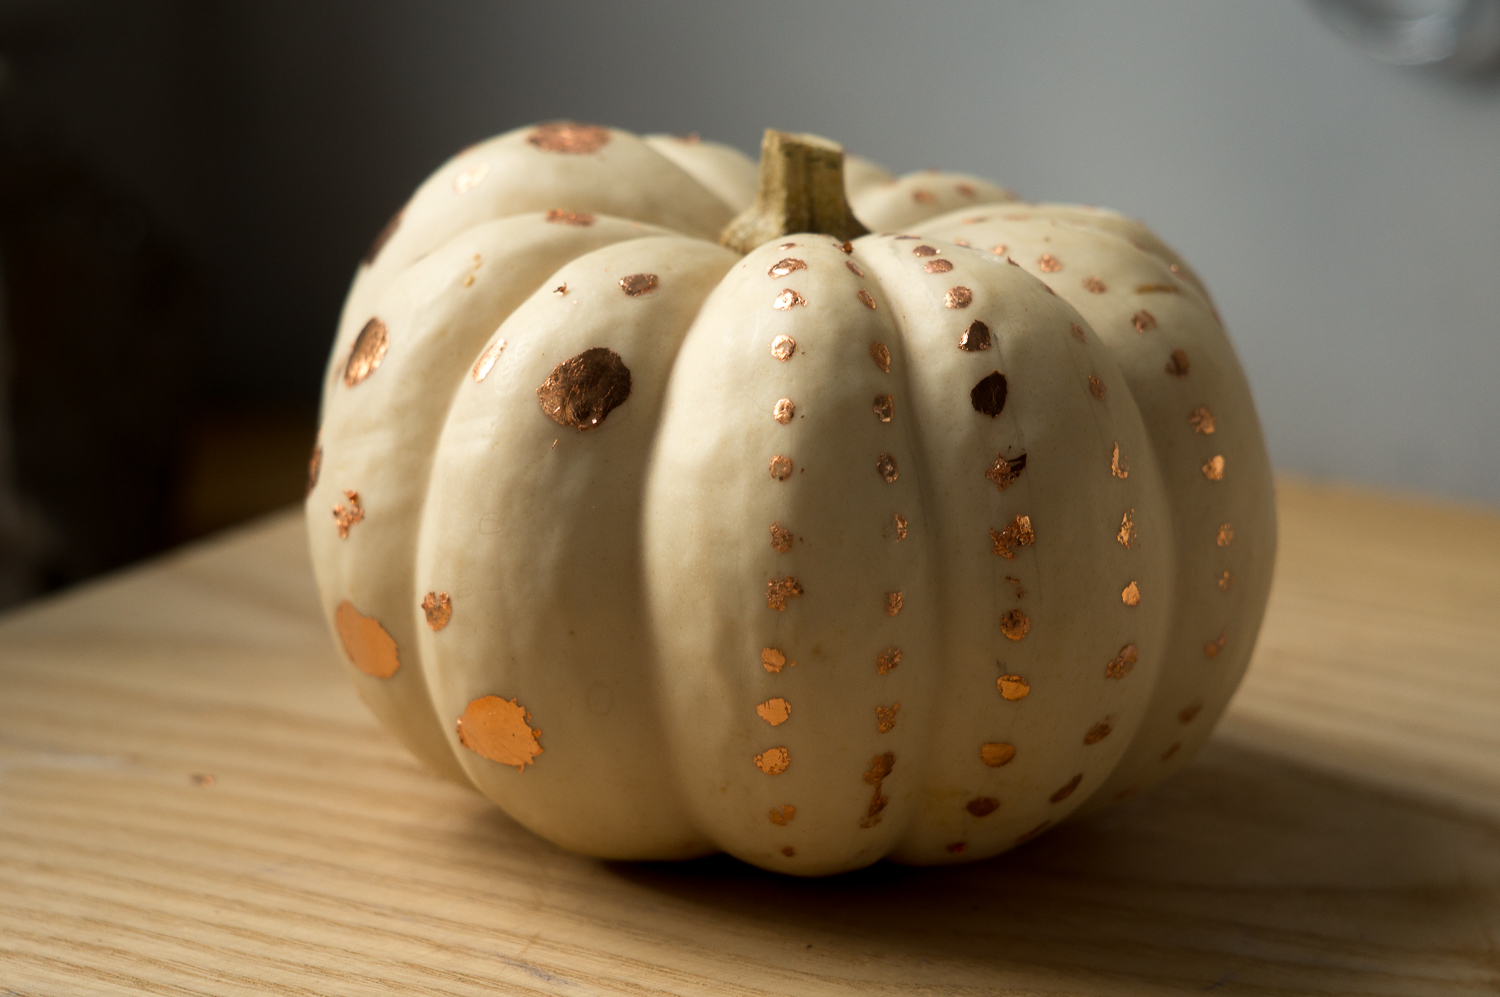
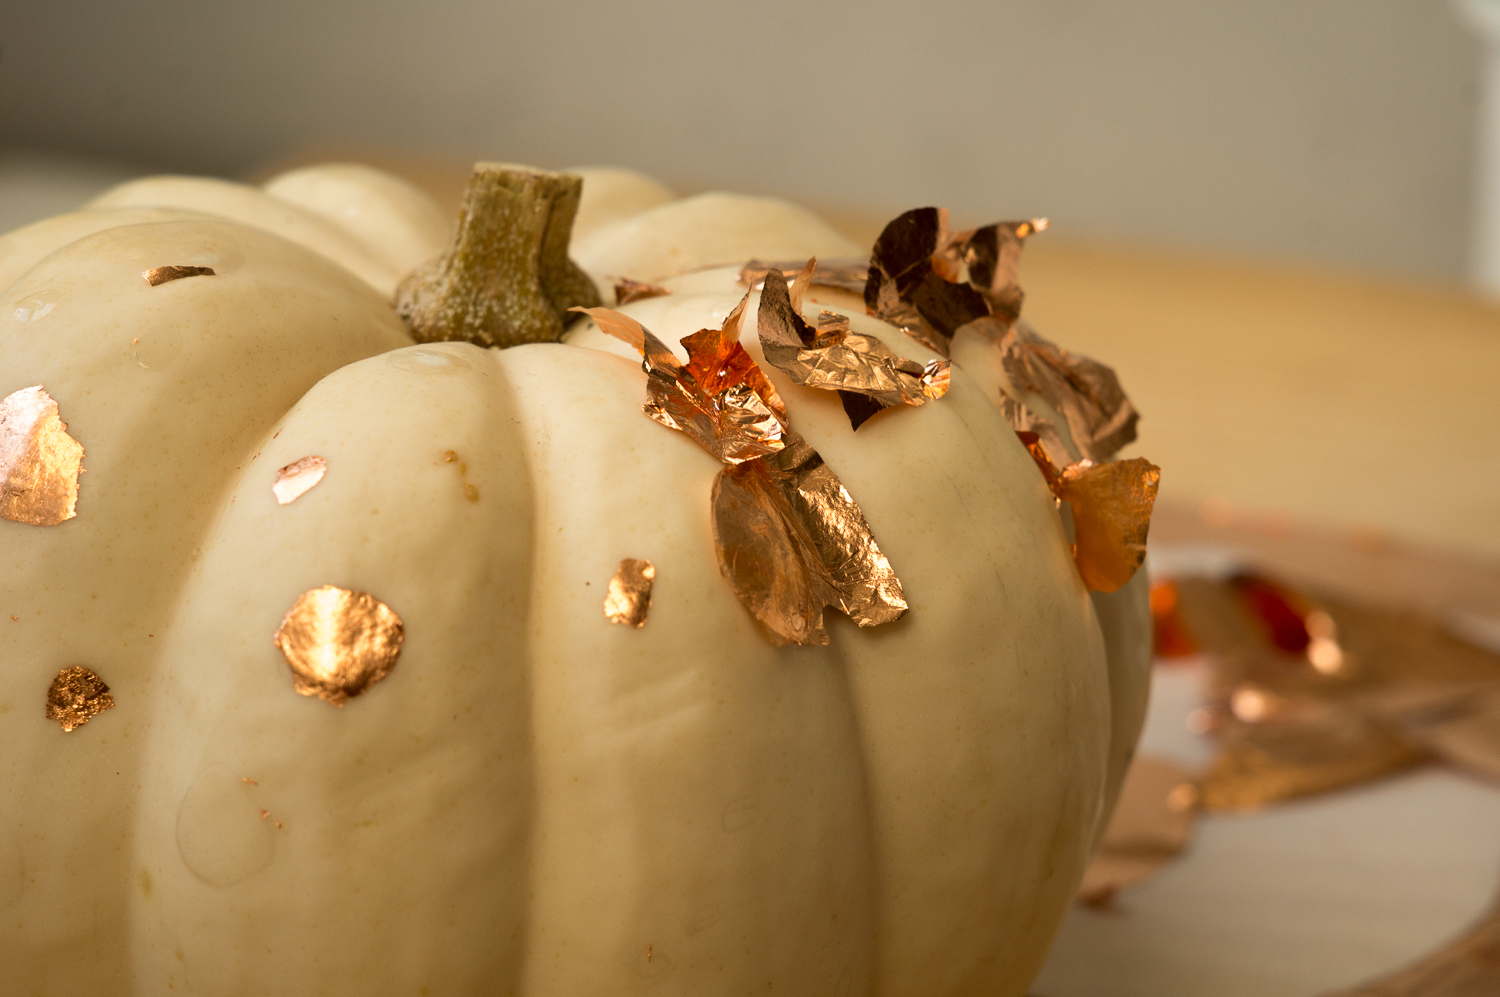
But putting decorations ON a pumpkin doesn’t seem so hard. Extra points if it’s shiny.
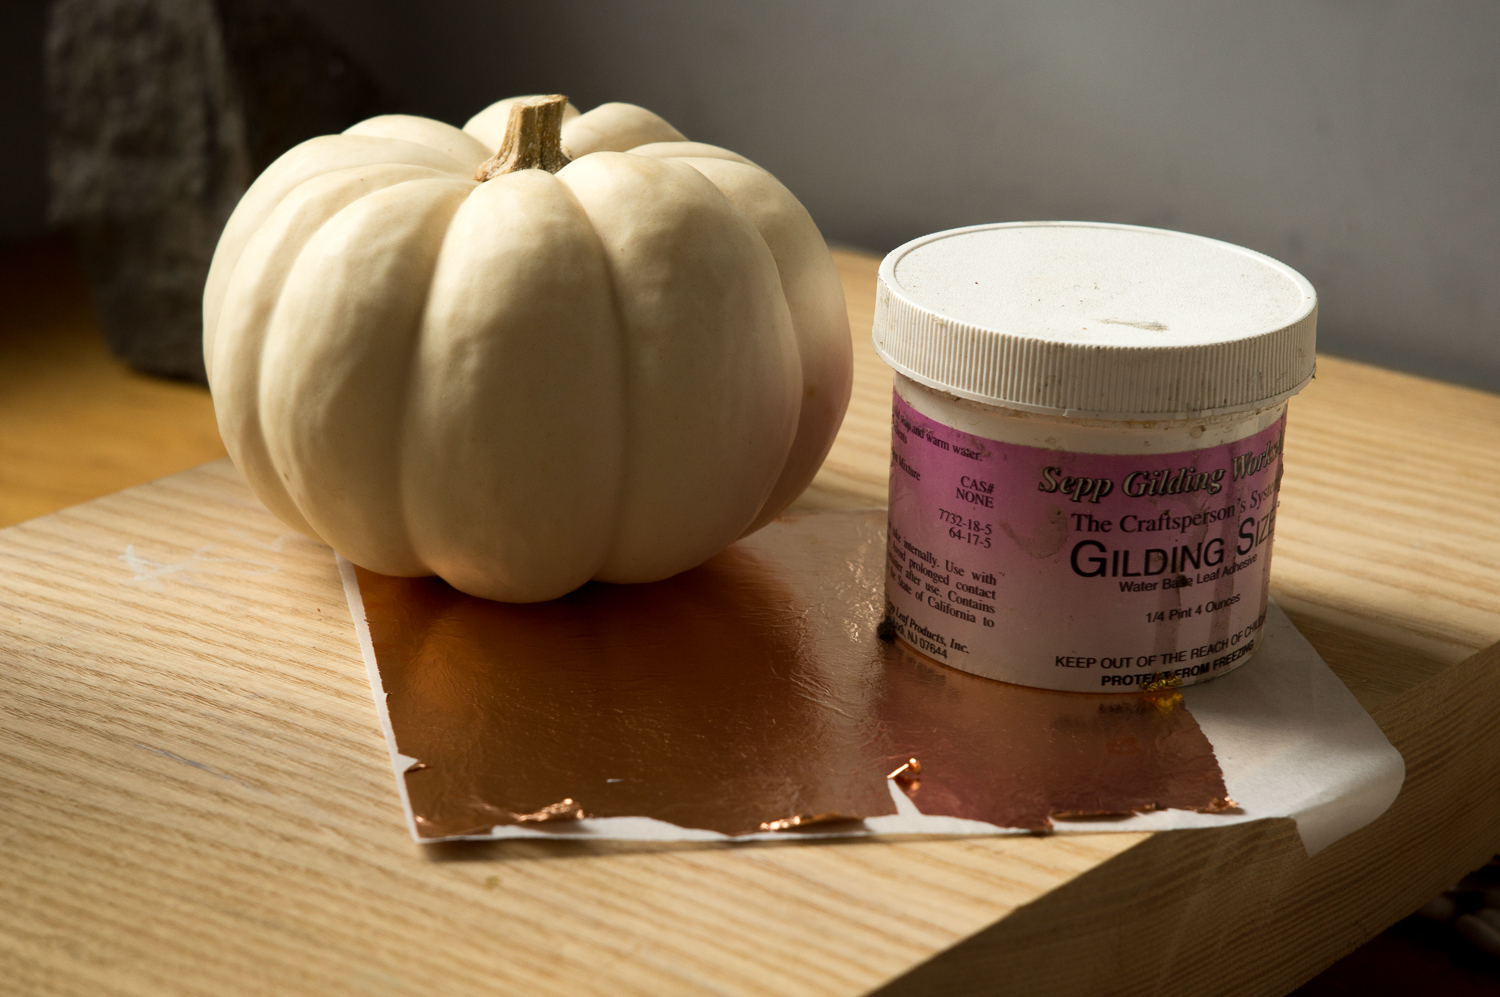
I wanted to invest 20 minutes, tops, so I found my sizing liquid, tracked down a piece of copper leaf, and got to work.
I know for a fact that I do not apply leaf “correctly.” For this application, I was extra sloppy, because, let’s face it- this whole thing is going to be in the trash can in a week or two. To gild a pumpkin, follow me after the jump:
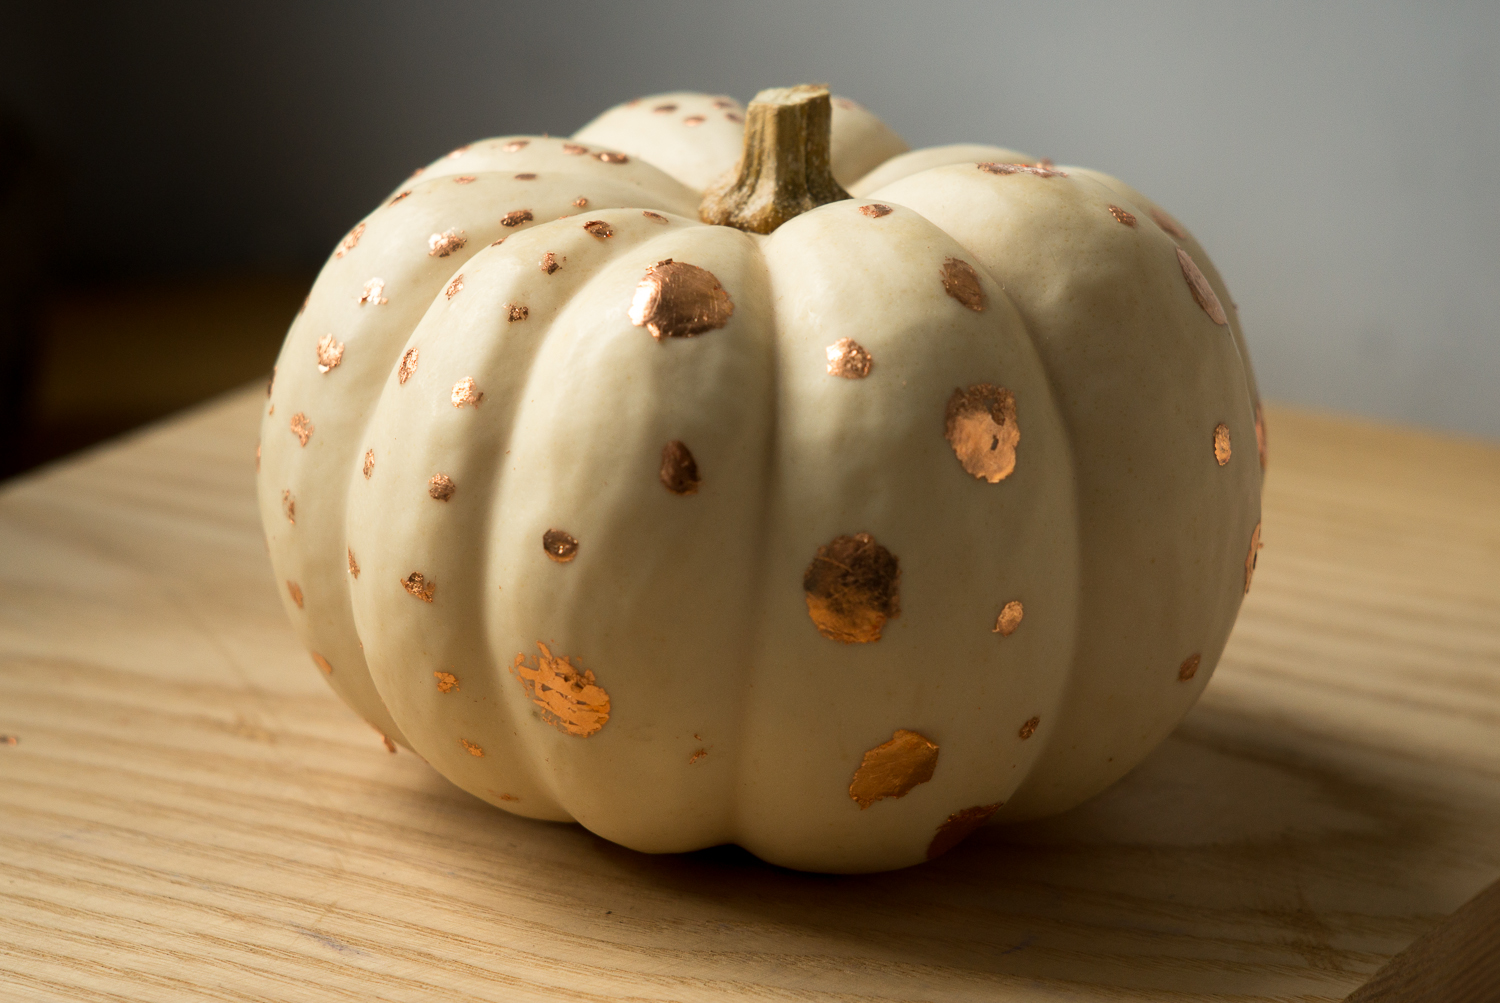
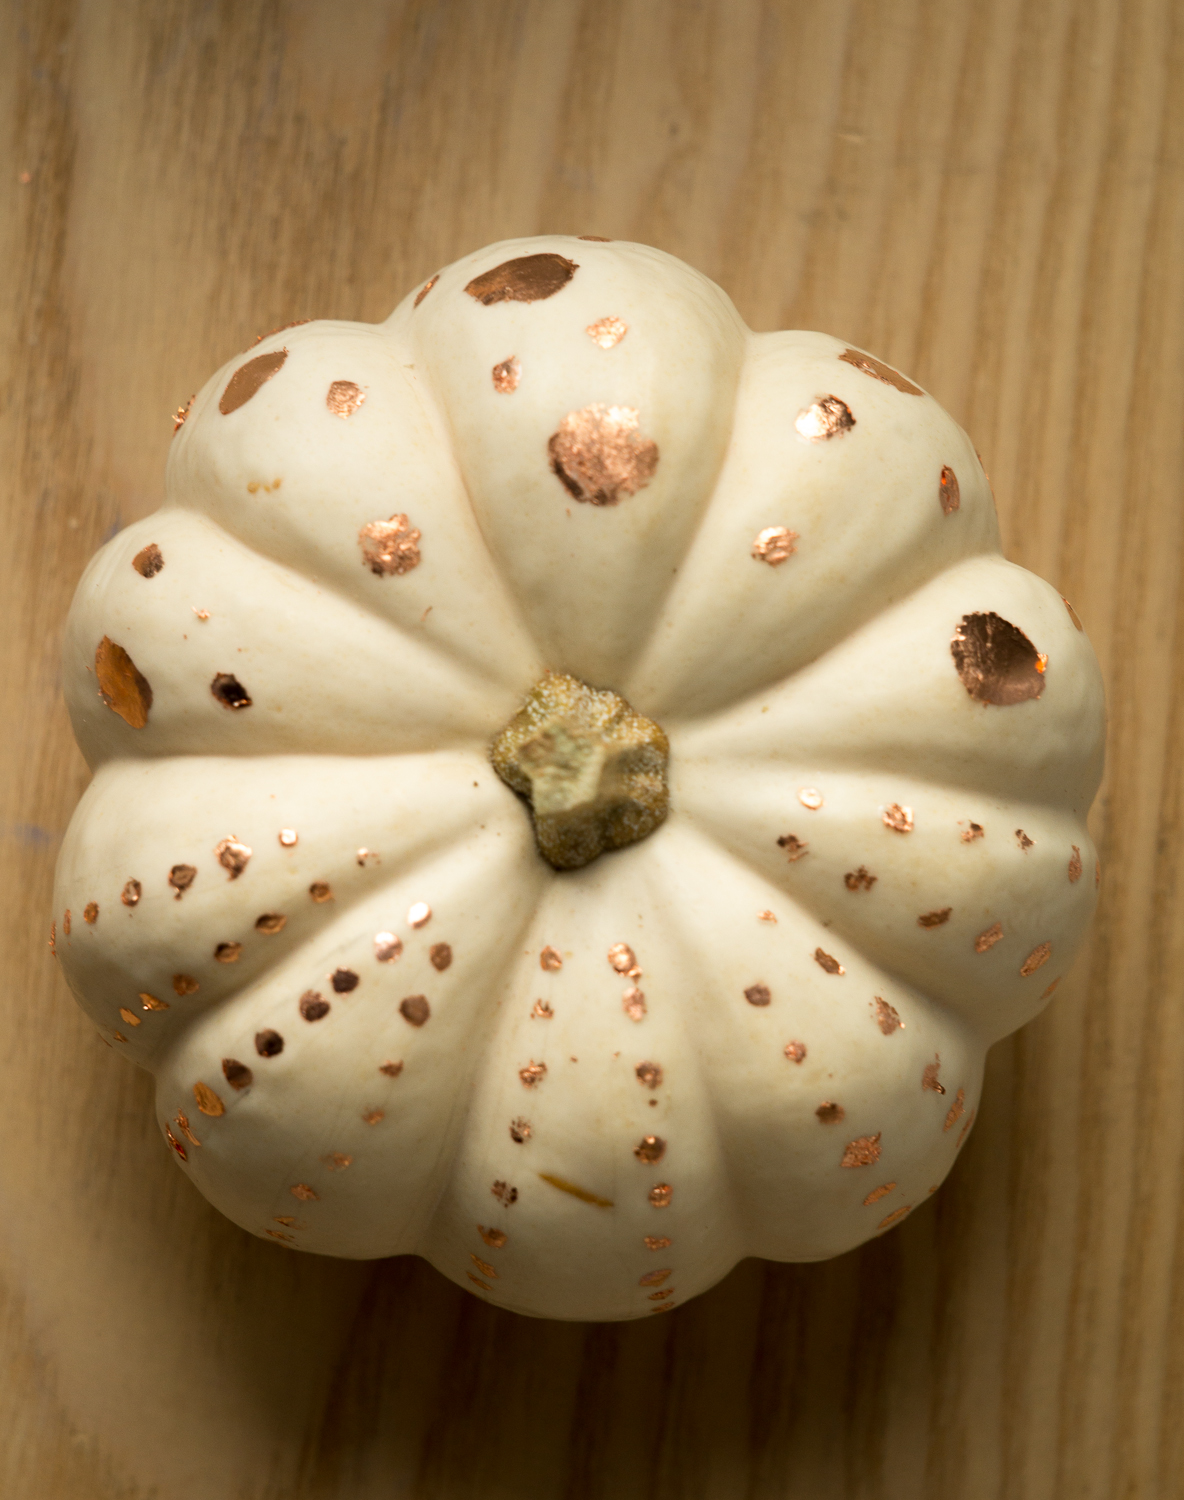
1. Using a small paint brush, use the sizing liquid to create your design on the pumpkin. The sizing is runny, so use a light touch. I drew out some of my dots before hand in pencil and filled them in, but do what your heart tells you to do. I did the two halves of my pumpkin in different patterns, because I wanted variety but, you know, one pumpkin.
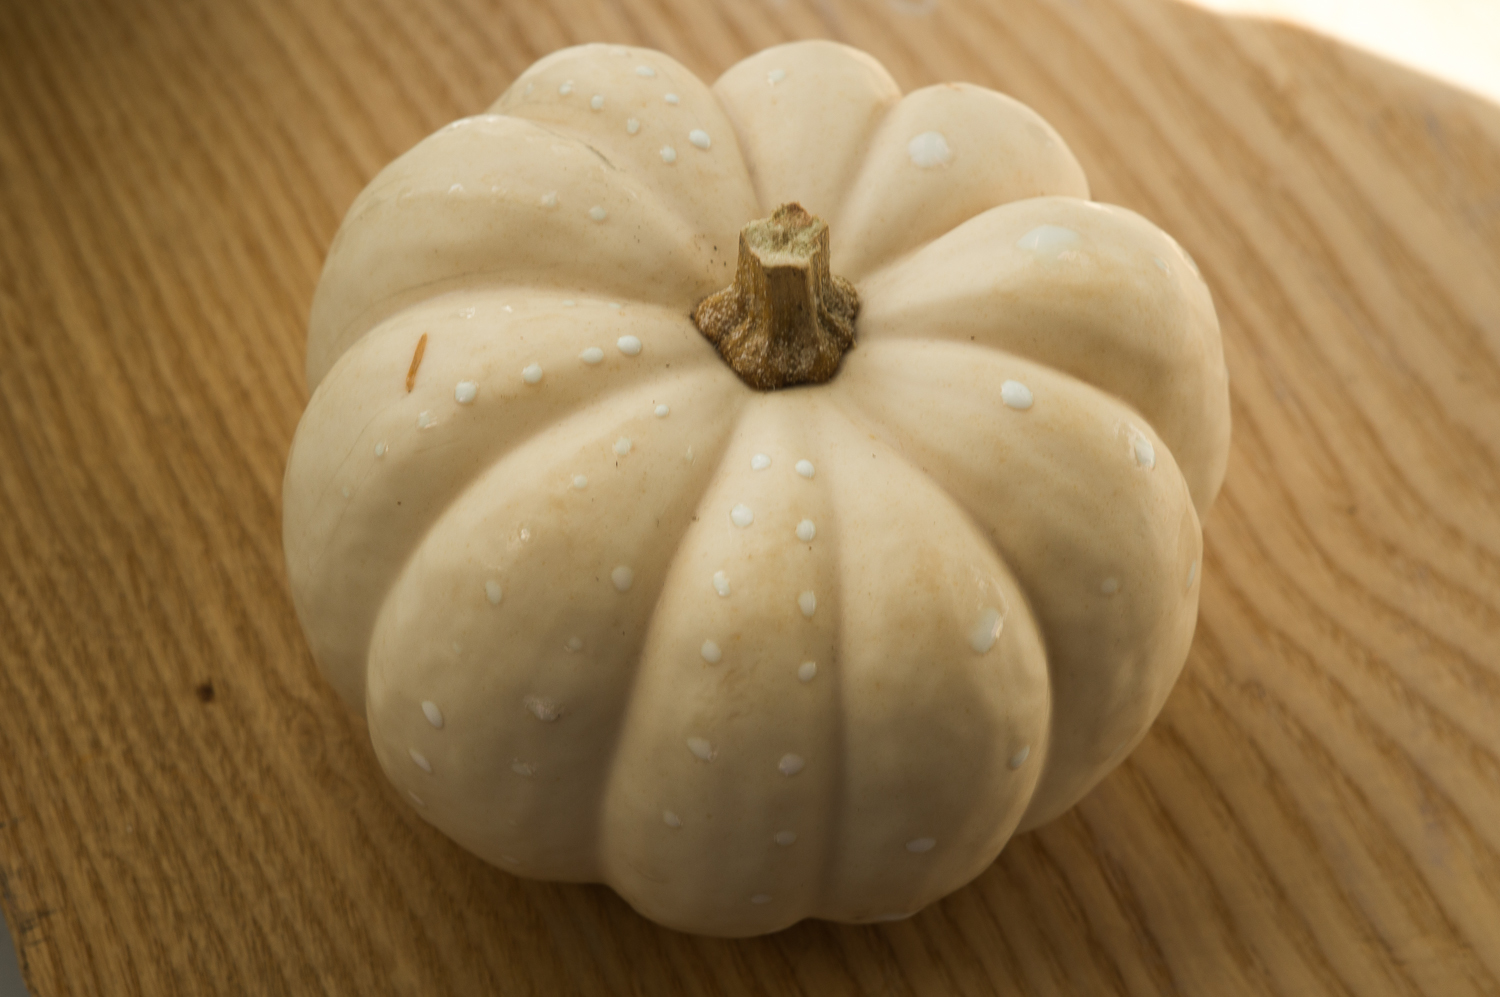
2. Let the sizing dry for 15-3o minutes- it should go from milky white (pictured above) to shiny and clear. Tap lightly with your finger- you want it to be slightly tacky, but it shouldn’t be wet. Nor should it be fully dry- try to keep it in that 15-30 minute window.
 4. This is where I start to do things really incorrectly. If you were doing this on something you actually cared about, you’d pick up the leaf with a brush and apply it carefully. Real talk, I did this mostly with my fingers. Now, usually oil from your fingers is the kiss of death on leaf because it speeds along discoloration- ESPECIALLY on copper. However, for a disposable item, I say go for it.
5. Once you have copper pieces stuck to your sizing dots, you can use a soft brush (or your finger) to gently rub away the excess leaf. If your sizing is the right consistency, you should be left with fairly clean edges and good coverage within your design. If you are missing large chunks, try adding more sizing and let it dry again.
6. Place gilded pumpkin at a distance far enough from the viewer to obscure mistakes, but close enough to impress people with your Martha Stewart-like prowess and impeccable taste in fall decor.
Happpppyyyy Hallloowweeeeeeeeeeennnn (ghost voice)!


