
Foiled Again: Testing Phase
Now that it’s 2015 (or as I’m hoping it will be, THE BEST YEAR EVER), it’s time to start thinking about the actual invitations, because, you know, we want people to actually come to our wedding. We’ve recovered from the Save the Date saga, but not without a few battle scars and lessons learned.
For one- NO acrylic will be found in the invites. I want these to be machinable, easy-peasy-to-mail pieces. Second, I really want to try to keep the intense hand-work to a minimum.
BUT, of course, not entirely eliminate it. Where’s the fun in that?
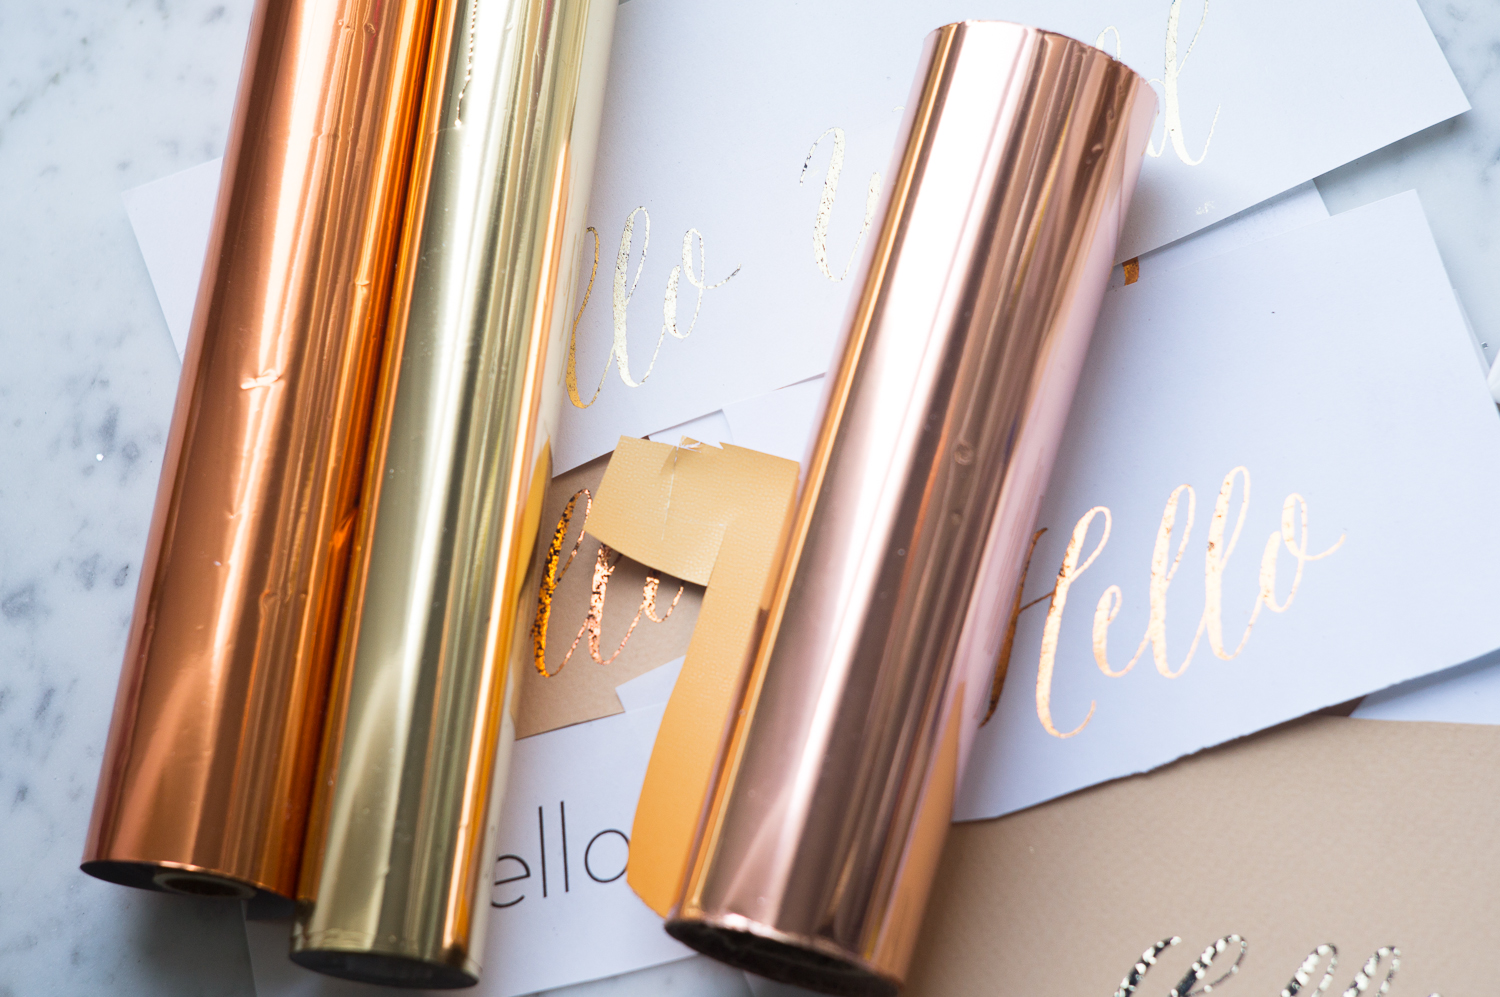
I’m obsessed with foiled papergoods. From business cards and invites to notebooks and greeting cards, I feel like there are few things that are NOT improved 10-fold by a well-placed bit of shiny stuff. This is a fact.
In my fantasy world, we’d have letter-pressed and hot foiled invitations. In the real world, that’s expensive, so I have to somewhat pare down my dreams- we want to be able to feed our guests, after all. Many moons ago, we talked about trying to make our own at-home letterpress– and like a lot of things, that sounded like a great thing a year ago. But, if you love something, sometimes you have to let it fly free. Go on, little letterpress. I’ll see you in the future when I can (hopefully) afford you.
But I will never let go of foiled invitations. Even if it’s just a single dot of perfect metallic shimmer, I have to have it. And so DIY it is.
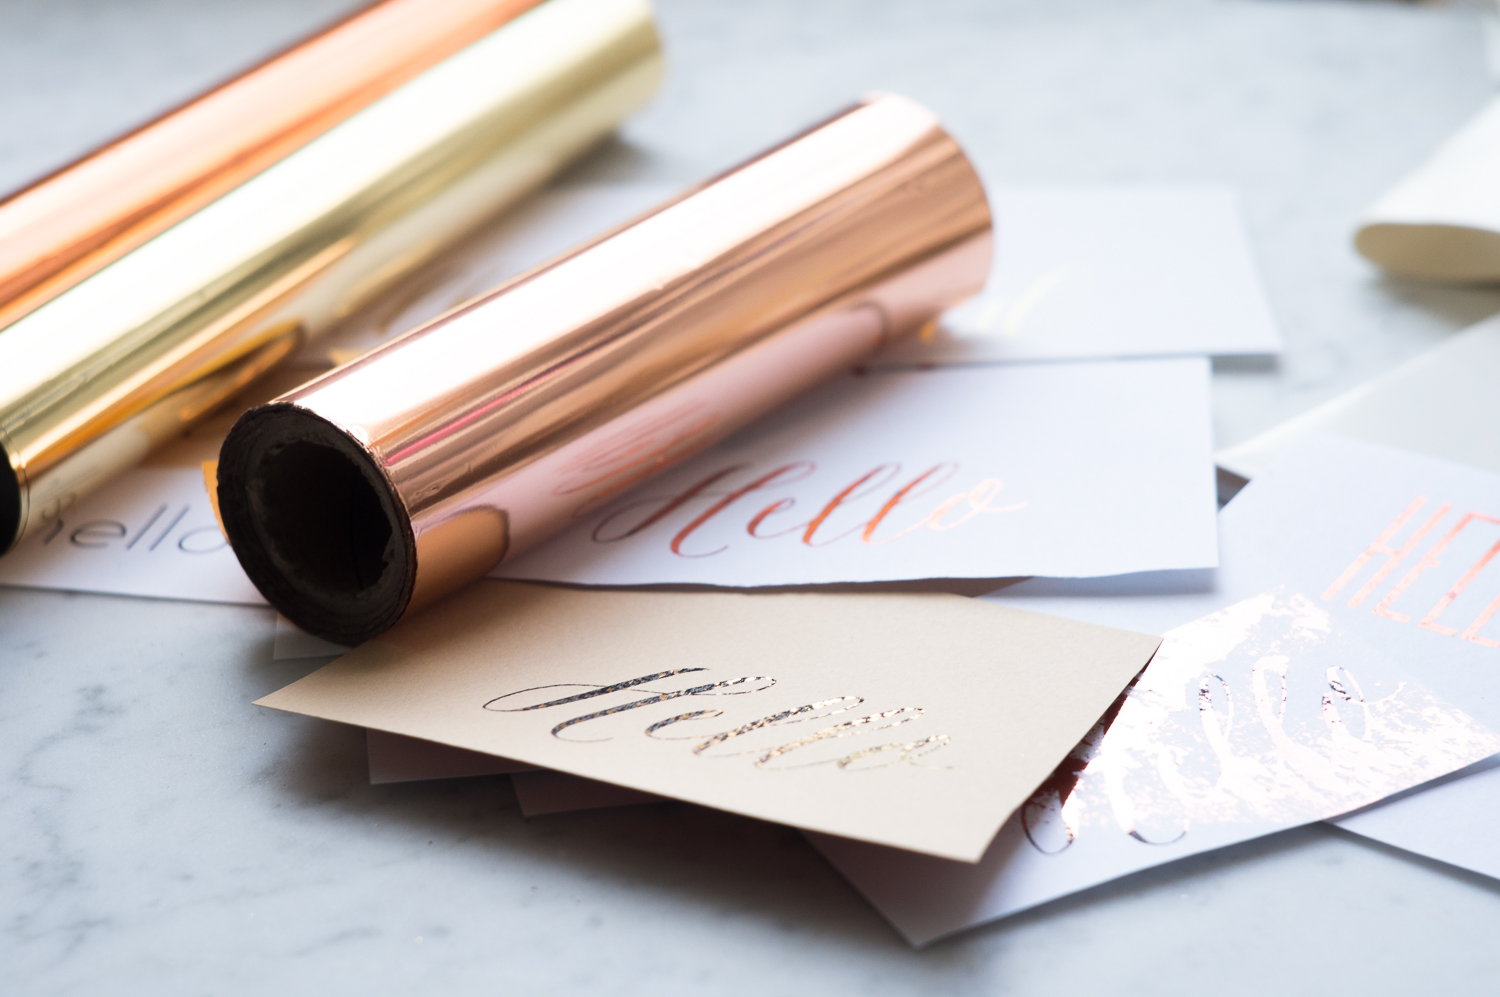
I was pleased to discover that there’s a fairly common foiling process DIY floating around out there. Using a laser printer, toner-reactive foil, and something hot (an iron or laminator), you can create a pretty good facsimile of hot-foil stamping. It doesn’t have the dimension of the stamp, because no die is being used, but you get the shine, and, really, that’s all that matters.
So I ordered gold and copper foil specifically made for this type of process. The foil has something in it that binds to the styrene used in toner, so only the toner-covered areas will adhere to the foil, and the rest peels away. The copper was a little too orange for what I was envisioning, so I also got a roll of rose gold standard foil, hoping it would also work with the toner process. Spoiler alert- it doesn’t. It pretty much just sticks to everything. But the color is PERFECT. Do you think it’s really THAT important to have the guests read the invite?
Full disclosure- I haven’t really gotten this to TOTALLY work yet, as you can see. But I’m getting closer, and it’s REALLY fun to try. A couple things I’ve learned:
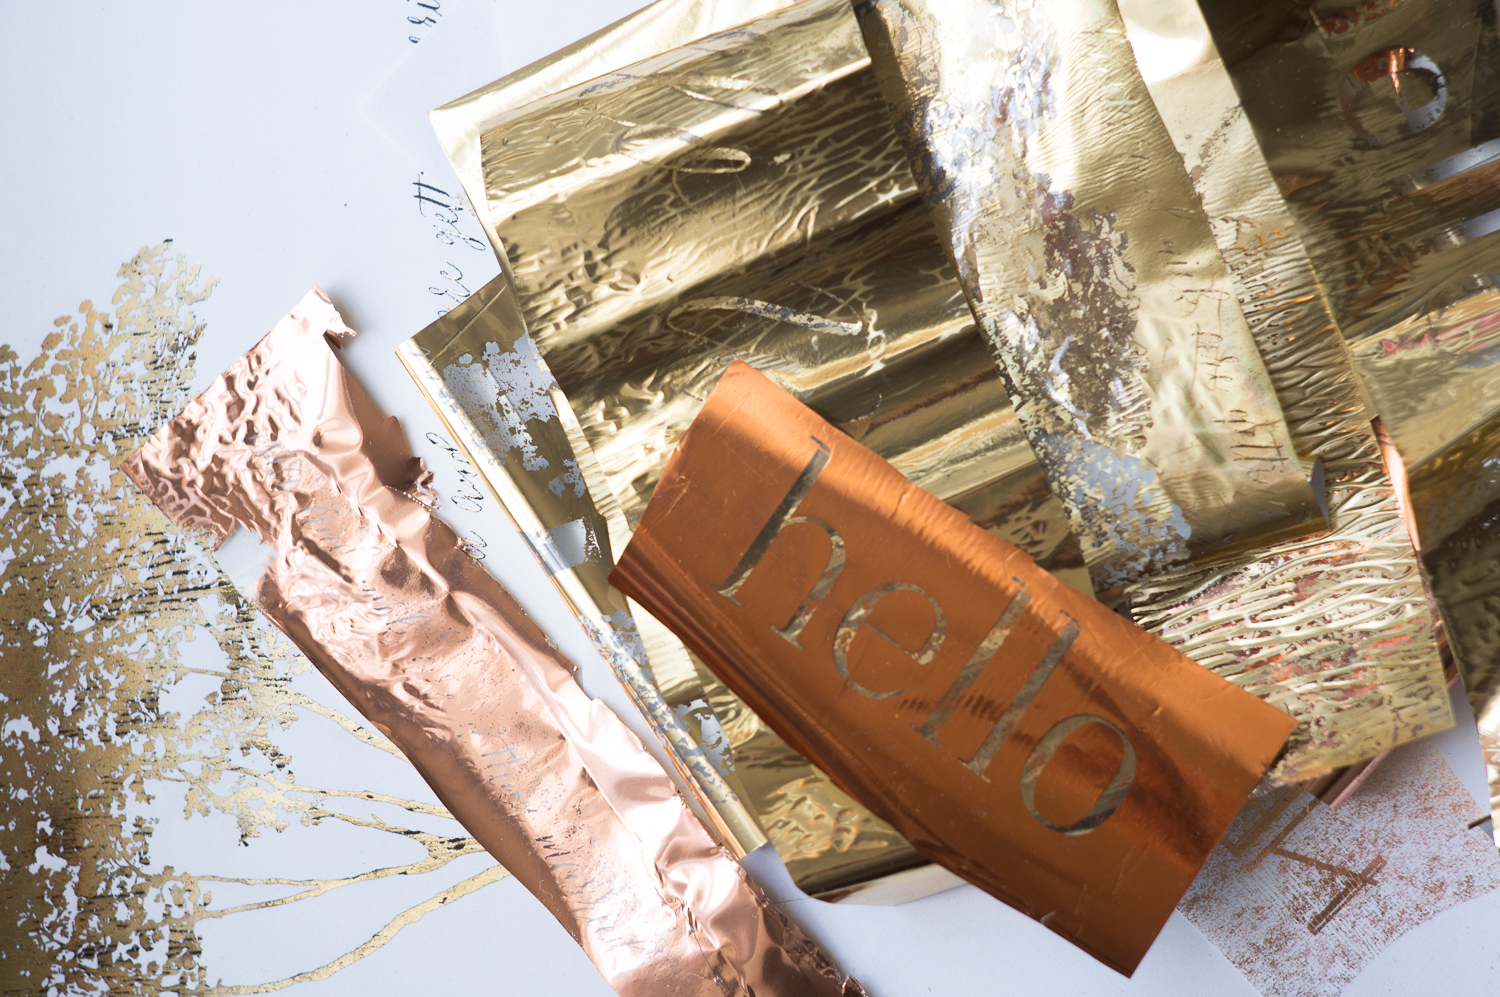
1. Pick your paper wisely. For the moment, I’m using the office laser printer to test this out, and the default paper is some weird hippie bamboo-cornstarch mumbo-jumbo. While it works okay, I’ve gotten much better results with smooth papers. I also tried a more textured stock, and as you can (kind-of) see in the photo below, it ends up with a leopard effect- the high parts get foiled, while the low sections remain black. It actually looks pretty cool- for what it’s worth, Nick likes the little black flecks and the imperfect finish, and I do too- but I’d like to have the OPTION for it to be perfect. I think the next step is to go get some stuff printed at Kinkos or Staples on various cards and cover weights (because I jammed the feed about 6 times trying to send them through on the office printer) and try, try again.
2. Laminator>iron. I have a badass iron, but it was still a complete pain in the next to get consistent results. Applying enough pressure to get a good finish on the toner would frequently leave some “fall-off” on the negative space. Not the end of the world, but not ideal. I also looked into the future and saw carpal tunnel and shoulder strain if I continued down this road for 75-100 invites, so I bought a cheap laminator on Amazon. It’s kind of weak-sauce compared to what the foil-sellers recommend, but it’s a LOT better than doing it manually. Sending it twice through the machine on the lower setting seemed to do the trick.
3. It makes really pretty garbage. I haven’t been able to bring myself to throw the spent pieces of foil away. So I’m just keeping them in a little pile. This will definitely make it onto my Hoarders episode. They’ll be like, “Why do you need these actual pieces of garbage?” and I’ll be crying and saying, “But maybe I can DO something with them!”
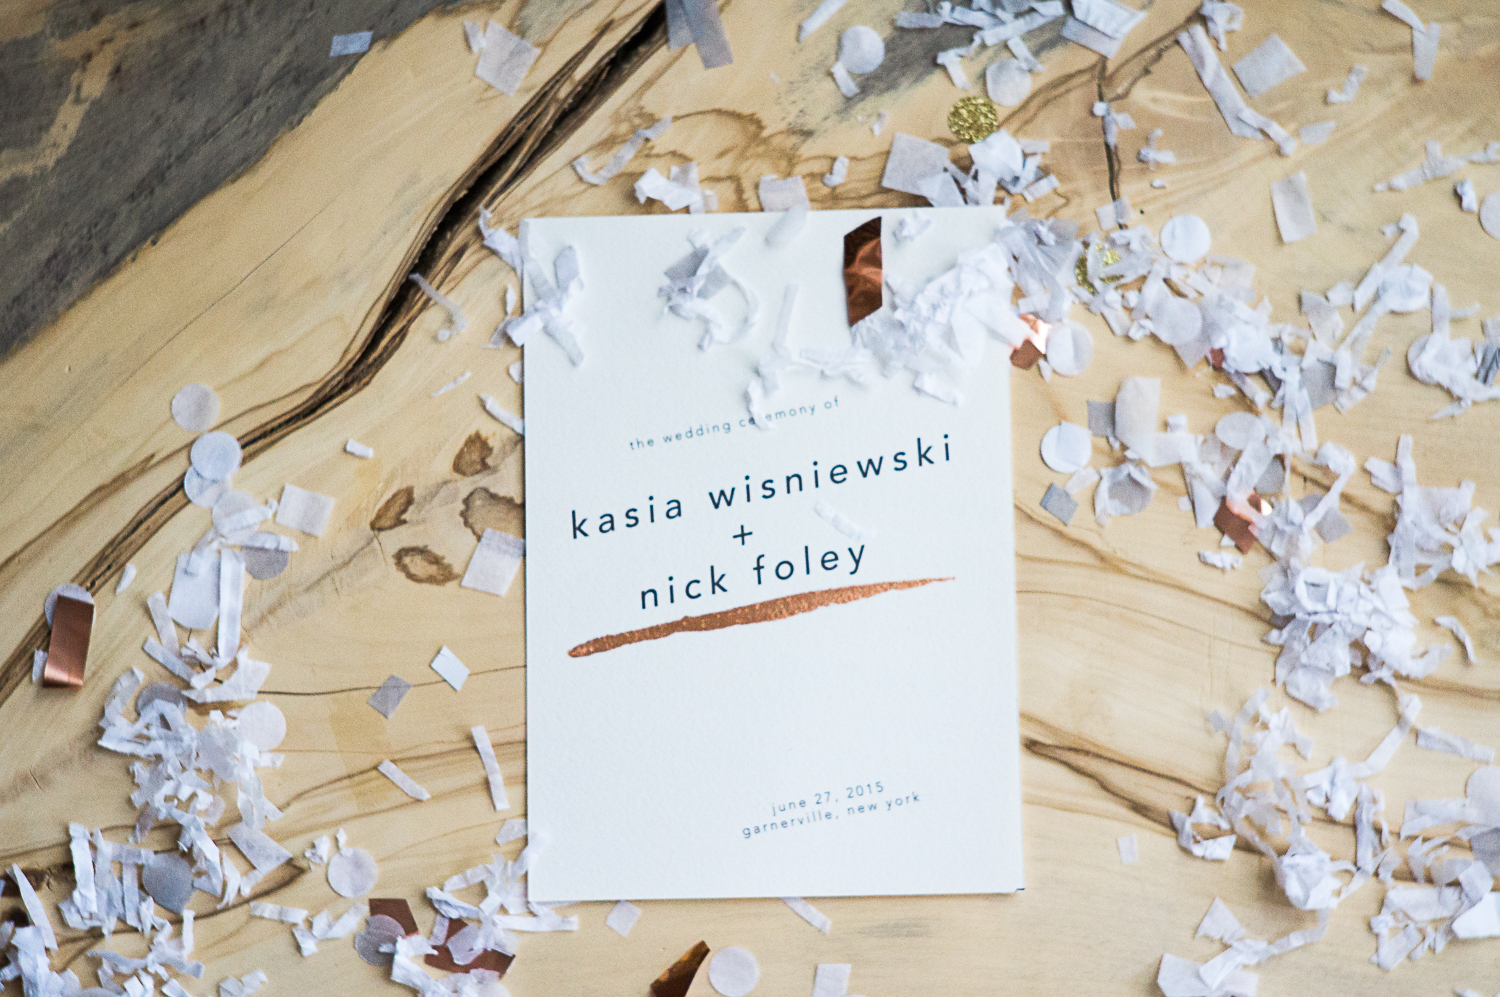
So to sum up- no invite design yet, or really a technique that works perfectly, but I now have a lot of tiny pieces of paper that say HELLO in varying degrees of shininess and a laminator.
It may sound sarcastic, but it’s actually pretty promising.


Welp, that was an entertaining couple of hours! Somehow I saw your engagement story, which lead me to your blog. I loved the first couple of posts I read so much that I got caught up on the whole thing! I love all things wedding, and imagine I’ll be somewhat like you when the time comes. Thanks for your honest and witty writing. You two look like quite an adorable pair. Happy Wedding!
Thanks for stopping by, Maresa! Sometimes, in my stressed moments, I say to people that I wish I was outsourcing everything- it’s really fun and relaxing to hand over a credit card and have something checked off the list. I have to say, though, the DIY way is pretty rewarding- especially when you can rope in other people to be your henchmen. I recommend the ambitious/dreamer/maker approach wholeheartedly!
Foil is fun for diy nail art, too. They sell foil kits at Sally Beauty Supply (and sometimes Walmart) with a special foiling nail glue (the glue starts out blue and when it’s tacky and clear you stick the foil to it). Since it’s a small surface, your “garbage” should work great – just cut apart strips big enough to fit your fingernails.
AWESOME tip. I’m definitely going to give this a try (and will report back with pics)! Thanks, Melanie!