Drop Veil Like it’s Hot
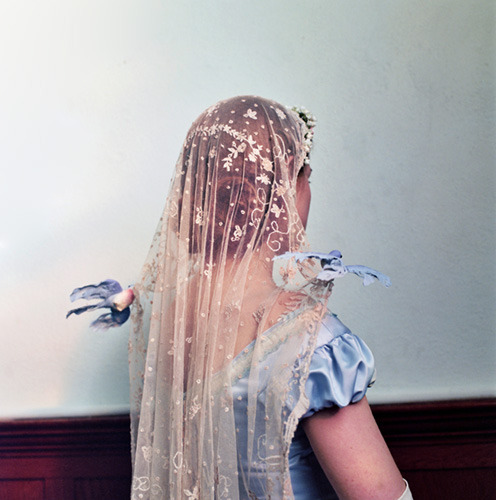
I’ve long been a serious sucker for veils with STUFF on them. Petals. Lace. Embroidery. Pearls. They’ve always captured my imagination- I think there are fewer things chicer than a long, elaborate veil worn with a simple, streamlined gown. Imagine me doing that thing fake Italians do where they kiss the tips of their fingers and say “Muah! Bellissimo!” or whatever. That’s how I feel about embellished veils.
So no one is more surprised than me that I’m ending up with a super simple, unadorned veil. I think, though, that a very special veil deserves to the the center of attention. My slightly sparkly, lacy, very tulle-y dress just isn’t streamlined or understated enough to pull off that type of veil. It’s all about the balance when it comes down to it- if everything is special, then nothing is special. And so my dreams of a fancy veil fell on its sword to allow the dress to take center stage, and, like Michael Bluth, I have no problem with that.
A perk to a simple veil is that it’s basically the easiest wedding DIY ever. 90% of veils are made of the aptly named bridal illusion tulle or veil tulle, a very inexpensive nylon diamond-weave tulle. Even the expensive designer veil you see listed for $400+ is likely made of this stuff- I can only recall one or two times that we used something else at my old jobs. It’s highway robbery, for sure. Illusion tulle is loved for a reason, though; it’s super-sheer, lightweight, and floaty, making it perfect for a lot of veil styles. It’s available in super-wide widths- up to 108″, which makes for a very voluminous, romantic veil. 72″ is probably the most common veil width- but ultimately, it’s all about the effect you want.
Your first step is to decide what you want. There are myriad veil lengths, shapes, volumes… it can be a bit overwhelming. Luckily, we live in the age of information and you can find lots of hilarious charts and drawings on Google Images explaining the differences and standard measurements between fingertip veils, chapel length veils, ballet/waltz veils, etc. If you don’t know what you want, go try on veils at a bridal salon to get a feel.
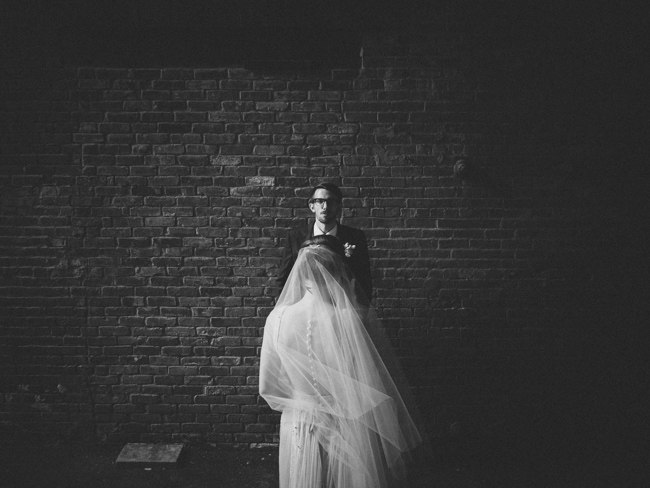
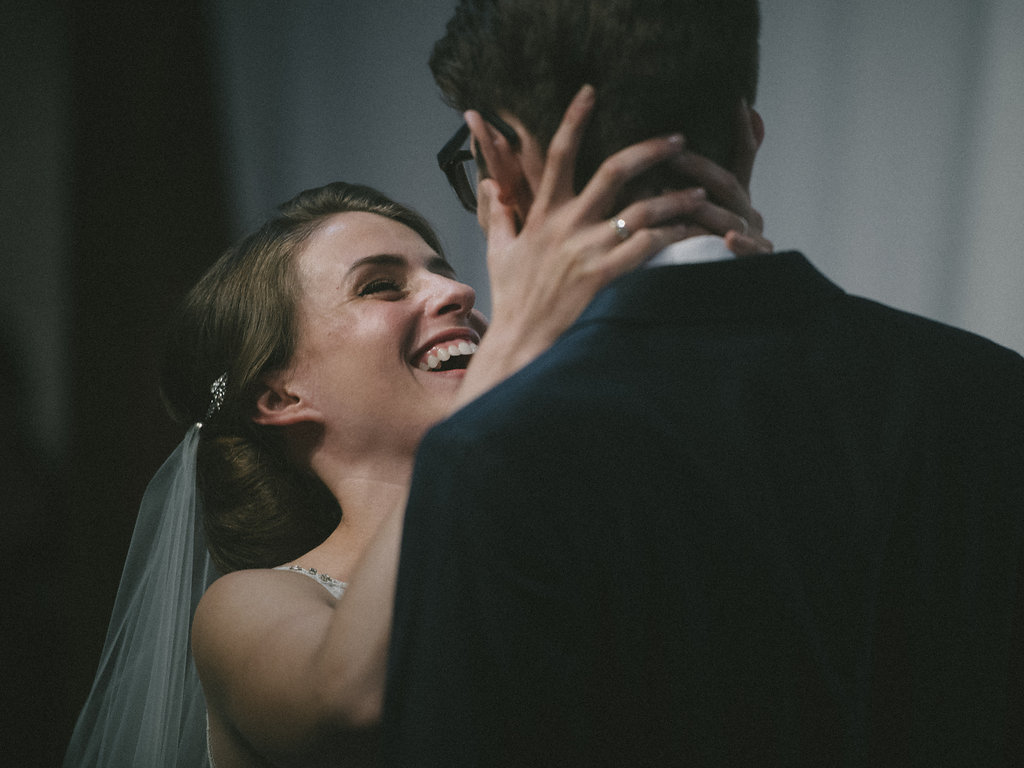
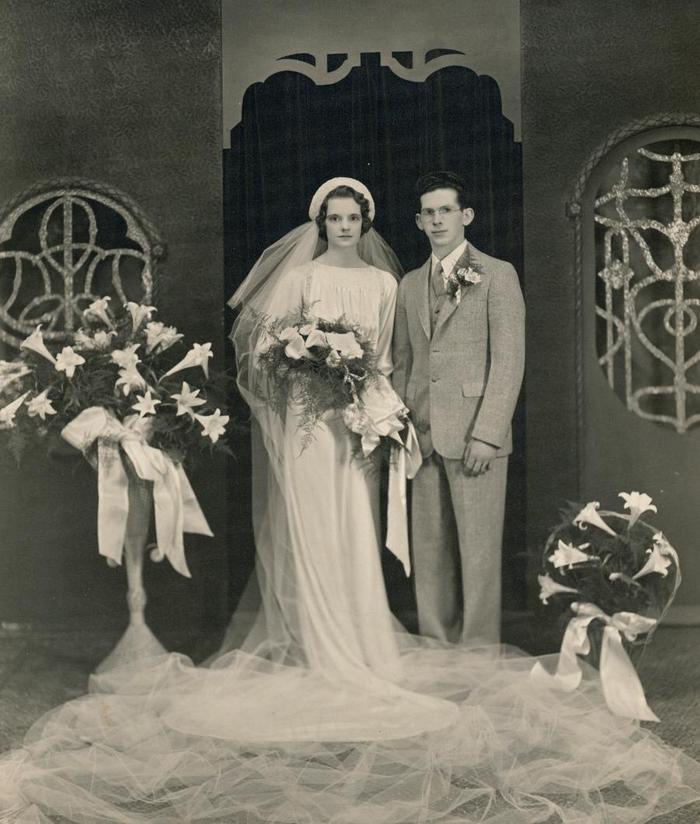
I’m doing a cathedral-length drop veil:
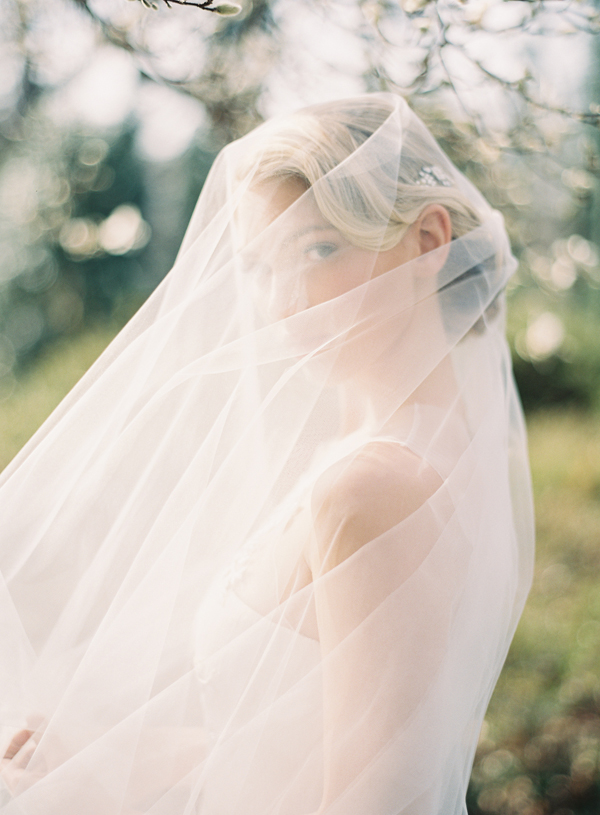 Photo: Rylee Hitchner
A drop veil is just a flat circle or oval of tulle that is draped over the bride’s head, as if gently placed there by singing birds. Cathedral veils are usually reserved for formal weddings and probably not for pizza weddings, but I’m a drama queen so I’m going to have one. These veils are usually at least 108″ length- mine is actually a little over 120″ because I just don’t know when enough is enough, apparently.
How drop veils are put into place
Next step: procure your fabric. Fabric.com stocks lots of colors of 108″ wide tulle, but most brick-and-mortar stores will also have a pretty wide selection. Because dye lots can vary widely and a sheer fabric like tulle will look VERY different when you have say, 4 yards bunched up versus a single layered-swatch, I just decided to get 4-5 yards each in four different colors- white, silk white, oyster, and light ivory. At $1.98 a yard, this was still only $30-40- a far cry from the $165 for a very similar style from J. Crew. You don’t have to do that, though: one color will suffice.
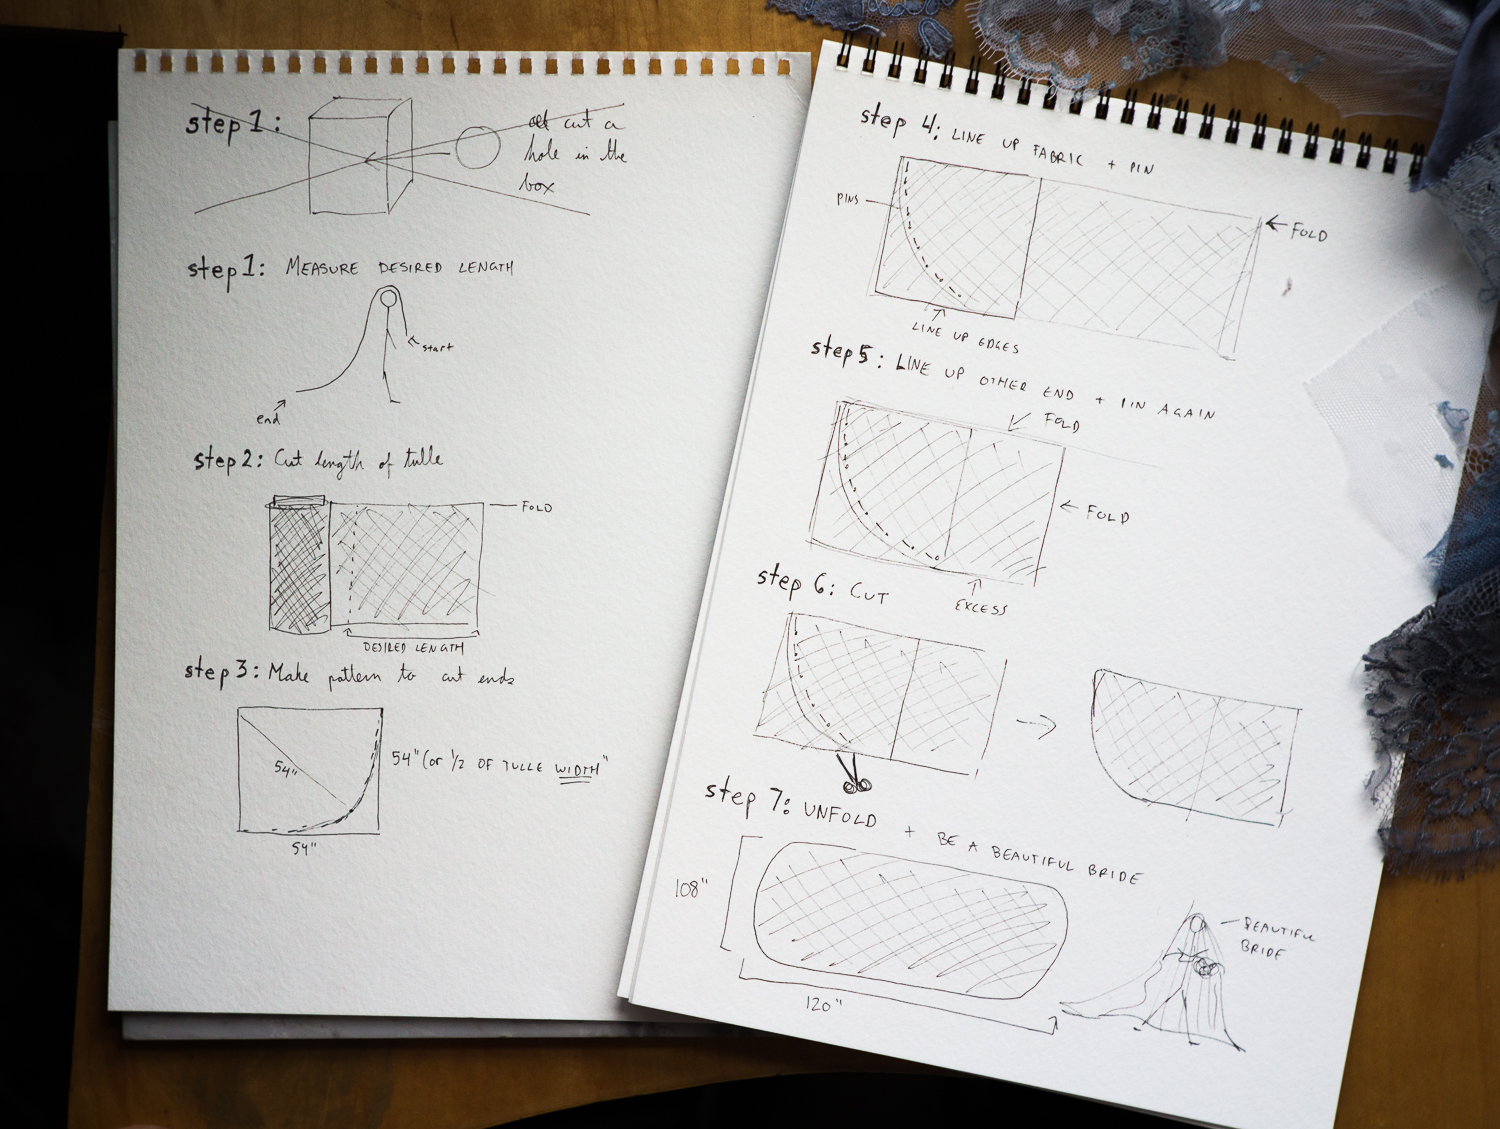
The next step was to make a pattern for rounding the ends of the veil. Because I don’t think I even have a room in my apartment that is 108″ wide, I worked with the tulle folded in half. I cut a 60″ square of pattern paper and drew a quarter circle with a 54″ radius. I then carefully lined up my folded tulle within the pattern, pinned it about 2″ inside the cut line, and carefully cut. Now, one of the first things they taught us in our college sewing construction classes is to always keep your fabric on the table when you’re cutting. Don’t go lifting it into the air and trying to cut it that way- you’ll DEFINITELY end up with jagged edges and mis-cuts. This holds especially true for tulles and other light, delicate fabrics. You will also find it infinitely easier to cut tulle if you layer it with paper; butcher paper and big craft rolls work really well for this purpose. After a couple years of trying to cut chiffon without anything beneath it, this paper trick really changed my life, and I don’t think that’s an overstatement.
But back to the veil. I actually cut both ends of the veil at once, simply by folding my tulle again the opposite way after pinning the first end, carefully smoothing, then pinning the other end on top. It saved me some time and made sure both ends of my veil are exactly the same. Not that it would be noticeable, but still. One less cut to do. Since drop veils are traditionally comb-less, I was finished after I cut it. The whole thing- from making the pattern to cutting the veil- took about 45 minutes.
Because lighting also makes a huge difference when it comes to color, I ended up making three veils- one 108″ wide in the silk white tulle, one 108″ wide in the light ivory, and one 72″ wide in white. I’ll probably decide which to wear the day of the wedding. But even if you’re not indecisive like me, it’s not a bad idea to have a duplicate veil. Things have a way of… happening… to tulle. Your maid of honor melts your veil with a too-hot iron. You get caught on a tree branch as you’re doing those romantic couple shots in the woods. Someone steps on your veil with their stiletto and rips a hole in it. A ruined veil is enough to make an already stressed bride go absolutely postal, so why not invest $10 and 30 minutes to make a back-up?
Here’s a nice little graphic version of the how-to for a 108″ wide veil in 7 easy steps. Now, don’t be intimidated by my technical drawings- remember, I have a fine arts degree so I’m an extremely skilled draftsman: