
Confetti Envelopes: A Story of Love, Loss, Redemption, and Healing

(Disclaimer: this is a very lengthy blog post, mostly about a printer)
For years, I had a Canon printer. It was nothing fancy- just a really good, solid, home printer. It was my right-hand man, printing packing slips, photos, business cards. It wasn’t finicky, never got jammed, and would print on just about any paper I stuck in there. Everything from thick watercolor paper to the lightest, most delicate vellum was fair game.
One day, I was in the process of coaxing a piece of too-thick card stock through the manual feed when suddenly, the printer starting making a noise. A bad, bad noise. I opened it up and took a look inside, but found nothing. I chalked it up to a fluke and reattempted the print. There was the noise again, shrieking like a banshee. Again and again, I opened it up, found nothing, and tried again, but every time, the sound remained. Finally, after 4 or 5 attempts, Nick sighs and comes over to figure out what I’m doing wrong. He futzed around for a while, and then, like a surgeon happening upon a tumor, he stopped, looked at me, and deftly extracted the source of the problem. It was a card of hand needles.
Apparently, it had fallen down the manual feed, and every time I tried to rerun the print, the printer head had just been slamming itself against this package of a dozen small, very sharp metal objects. Over and over. The printer died that day, by my own hand. I actually cried for a little while.
Then I ordered a new one on Amazon.
The new printer was just an upgrade of the old model, so I assumed it would be able to handle the abuse I subjected the old model to on a daily basis. Not the case. This model doesn’t have a manual feed, so it can’t print on watercolor paper. It can’t print non-standard sizes. It was like I had to relive the senseless murder of my printer all over.
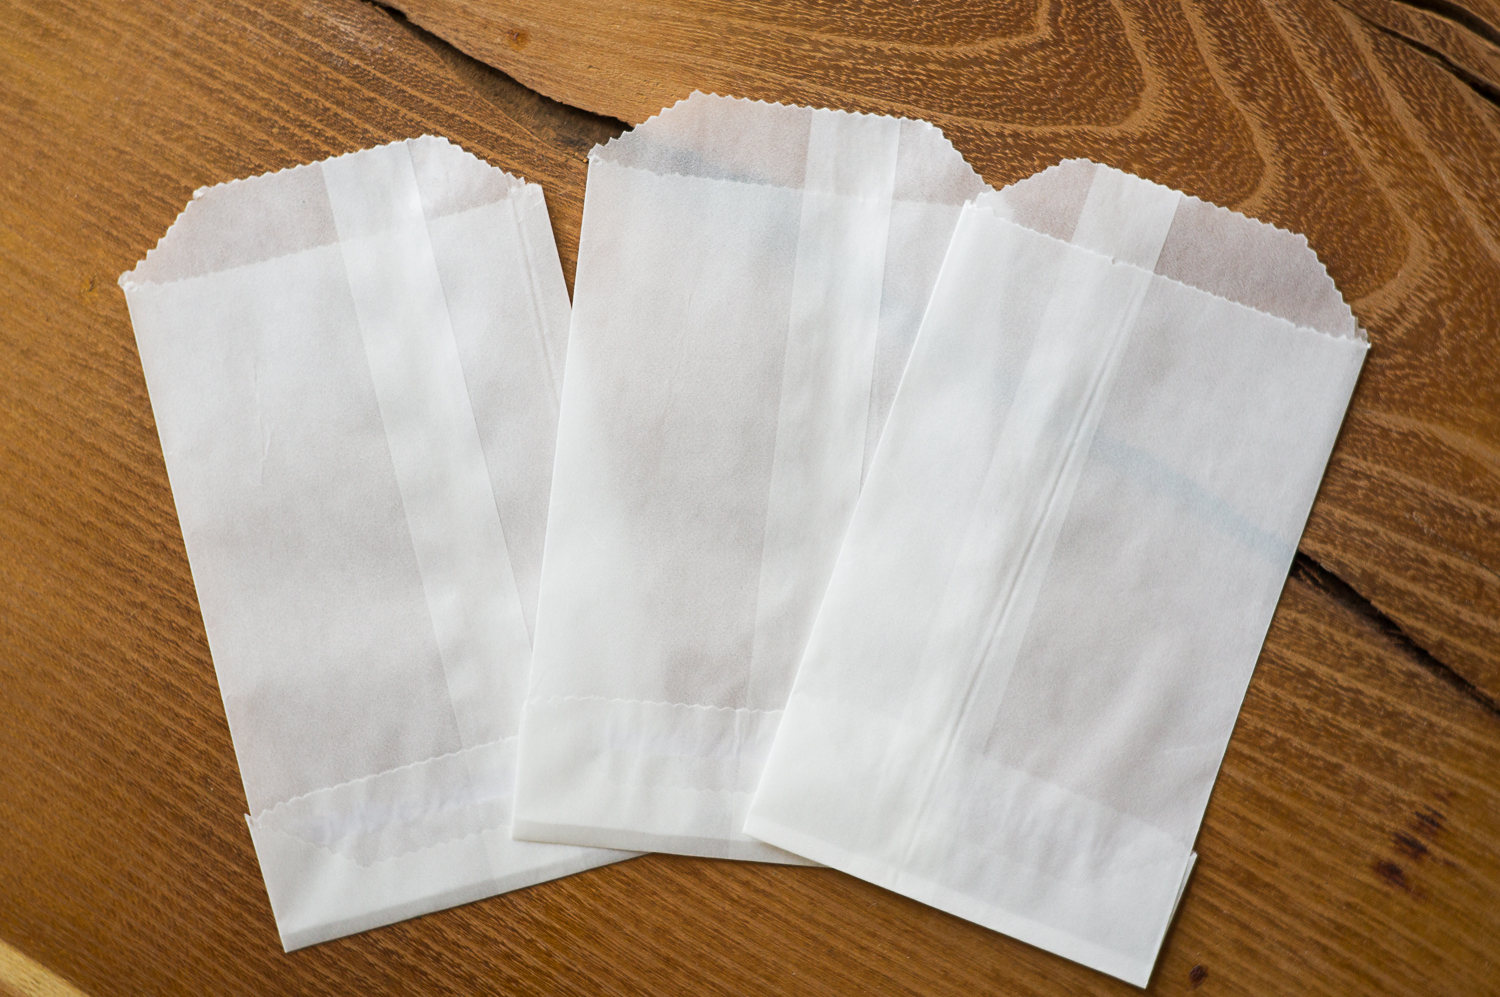
Future confetti packets.
This happened in May, right when I was about to embark on some of the at-home printing projects for our wedding. One such project was the program suite. See, I previously purchased a number of small glassine envelopes and tested printing on them with our old printer with the intention of using them as confetti packets. The idea is that everyone would have one on their seat and then Nick and I would be showered joyfully with confetti and well-wishes as we walked out in a magical and very Pinterest-worthy moment. But that’s another story.
On the old printer, it was a piece of cake to put these little envelopes (2.75″x 4.25″) in the manual feed. But with the new printer, this wasn’t going to be an option. I ended up having to tape each packet to a piece of standard letter-sized paper and THEN run it through the printer. It was a pain in the ass FOR SURE. But they turned out real cute, once my sister and I stuffed them with homemade confetti and sewed them with the most finicky, breaky-est, hard-to-sewiest metallic copper thread. So…. worth it???
Um, sure. Because even though objectively, these WERE a waste of time, I still really like them and will probably use this as a party trick over and over until people start to roll their eyes behind my back while saying to each other, “Again with the damn envelopes!”
But if you don’t give an eff about what other people think, and if you have a few spare hours to kill and some good reality TV queued up on the Hulu, follow along:
SONY DSC
What you need:
- A printer
- Glassine envelopes in your desired size (mine were 2.75 x 4.25″)
- 8.5×11″ standard copy paper
- Confetti
- Thread in your desired color (optional)
- The patience of a saint (not optional)
1. Step one: cut a hole in the box.
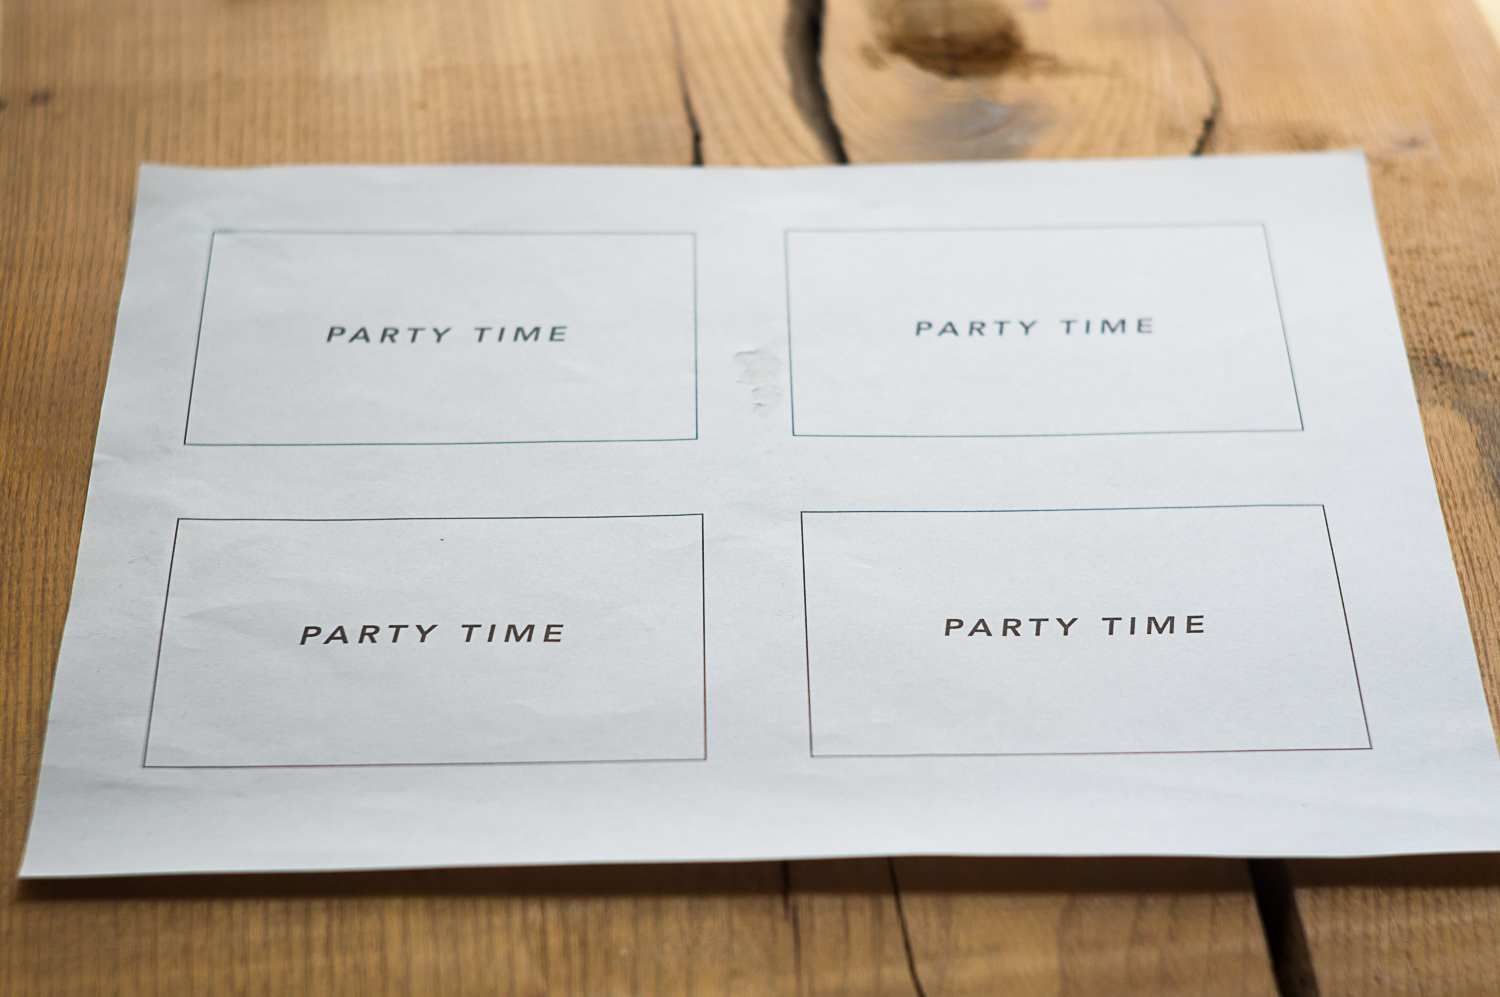
2. Step two: Using a program like Illustrator, create a document with your desired design. You can see mine above. I could fit 4 envelopes on a sheet of paper, so I made four outlines of boxes the size of my envelopes, and then placed the text I wanted (the very optimistic “Party Time”) within the boxes. This is going to be the template upon which you position your envelopes.
3. Print your design, including boxes, as seen above. Depending on the number of envelopes you want to end up with, you’ll want to print several copies. I discovered that the more times a sheet of paper is run through the printer, the higher the jam frequency. For me, about 5 times was the upper limit before envelopes started getting caught on internal mechanisms. Since I wanted to end up with 100 envelopes and did NOT want to have to buy another printer, I printed about 5 copies of the template.
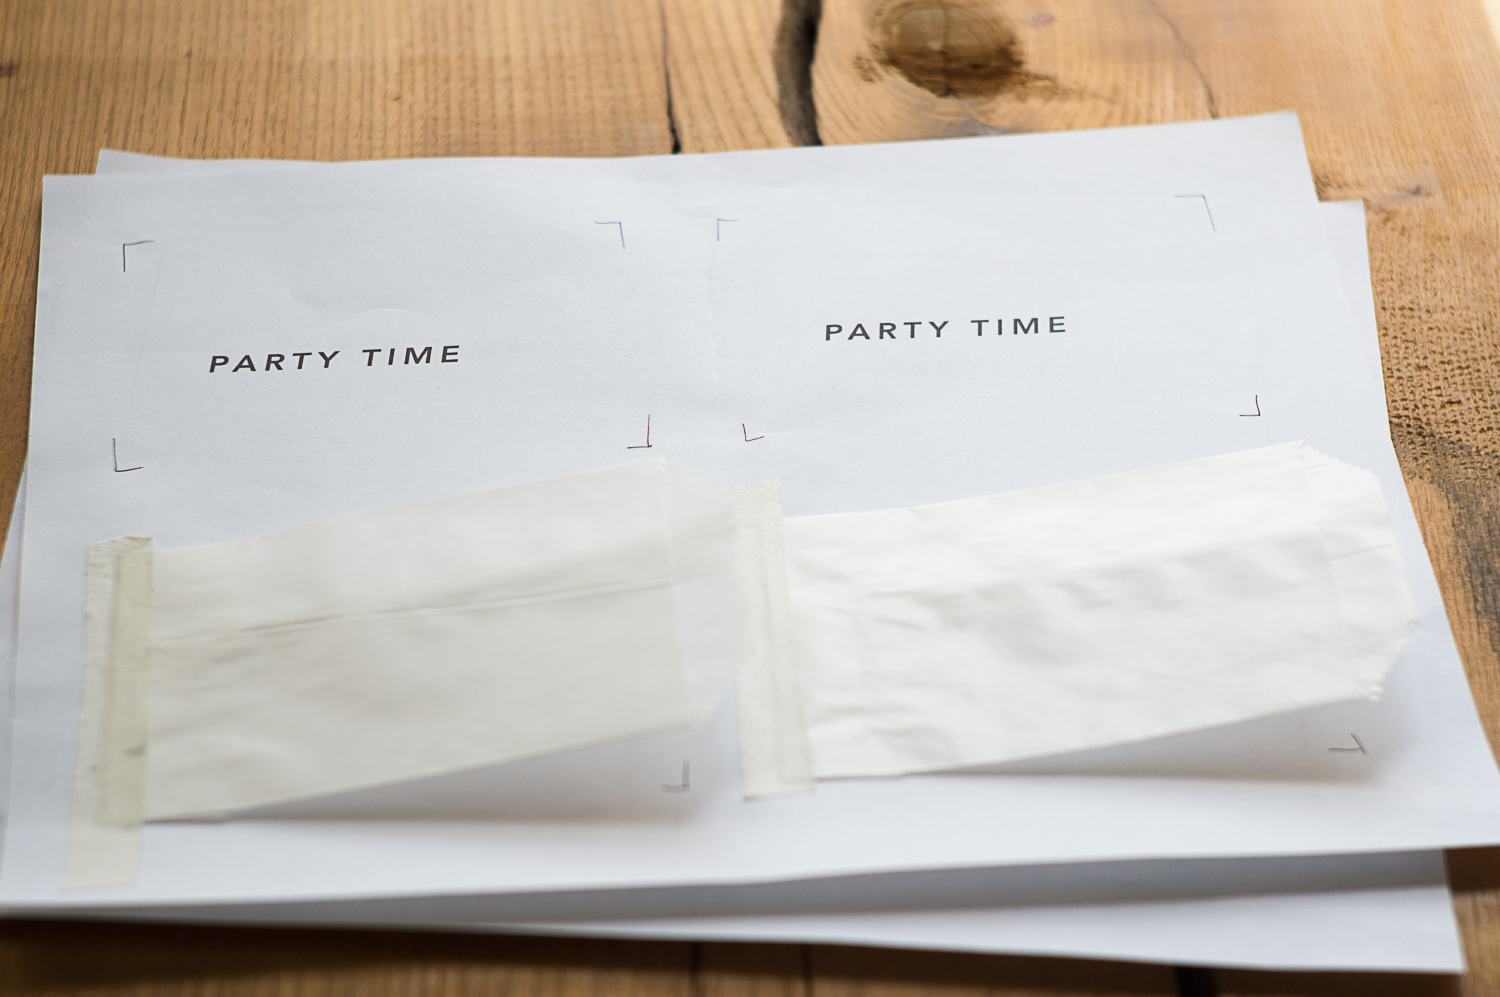
4. Using a removable tape, such as blue painter’s tape or masking tape, position your envelopes on your template and tape along the bottom (closed) edge of the envelope. I wanted to cut the little flap part of my envelopes off, so I lined up only the body of the envelope within the template.
5. Now, this next step is pretty important- delete or hide the boxes from your file, but leave the text or design in place. The lines were just guides, so as long as you line up your envelopes properly on the template, the text should end up in the right place on the envelope.
6. Feed the paper into the appropriate tray for your printer. The most important part is that the taped edges are fed FIRST. If the loose edges go in first, it will seriously jack up your printer. Probably not quite to “needle card” levels, but it won’t be pretty.
7. Print.

Pre-trim, pre-filling, and pre-stitching
8. Remove the printed envelopes from the paper (depending on your particular envelopes, ink, etc, you’ll probably want to let them dry undisturbed for a few minutes to let the ink set before you start putting your grubby little hands all over them). Fill with confetti. Whether or not you torture your sister by making her hand-cut said confetti is at your discretion.

SONY DSC
Optional parts: I trimmed off the little flap after printing and then sewed each envelope closed. If you’ve never used metallic thread in an industrial sewing machine, I would recommend doing ANYTHING besides that. I’m pretty good at sewing and machine trouble-shooting, and this damn metallic thread made me want to call off the wedding all together. It broke every couple of inches, got stuck in the tension wheels, and, due to its flat shape, coiled up on itself over and over. It was a true nightmare.

It looks SOOOOO innocent.
So, basically, use any other type of thread. It will look the same and cause fewer homicidal urges. However, if you are a true masochist and just HAVE to have gold or silver or whatever, be my guest (because I understand, I really do)- just remember to use it as a top thread ONLY. Otherwise, you will cry forever and perhaps never recover.
On that note, PARTY TIME!


I will save my colorful hole punches for you. One of these days, you’ll get a bag full for future projects.