Literally Dyeing
Of all the wedding projects with which I’ve tasked myself, I’ve procrastinated the most on bridesmaid dresses. It’s not that they’re particularly complicated- it’s mostly that I’ve been doing everything I can to avoid dyeing fabric.
In what seems like another lifetime, Nick and I made a little inspiration board for our wedding. I very optimistically hung up all these little paint swatches for color matching. After I finally decided that I was, indeed, going to undertake the bridesmaid dresses myself, I started scavenging my fabric collection for possible yardage I could use. After 10 years of hardcore fabric collecting, I’ve ended up with a mountain of fabric- but if I have the perfect color of chiffon, I never have, say, a matching lining. And so it gets complicated.
I do, however, have significant yardage in white and ivory fabrics, from lace and tulle to satin-face chiffon and crepe-back satins. So dyeing is the name of the game.
I refreshed my assortment of dyes in October, and they’ve sat on a shelf until the past couple weeks. It’s hard to get started on projects sometimes- even more so when you do know roughly what you’re getting yourself into. I’ve dyed enough stuff to know how finicky it can be, but I’m not enough of an expert to confidently stride in and show that fabric who’s boss. That won’t stop me from trying, though.
If what you’re after is a step-by-step on dyeing processes, there are many, many better resources on the internet than this humble blog. So before you go and dunk that heirloom dress into a vat, maybe go check those out. But if what you want to do instead is play mad scientist in your kitchen and you have no-to-few expectations, keep on reading.
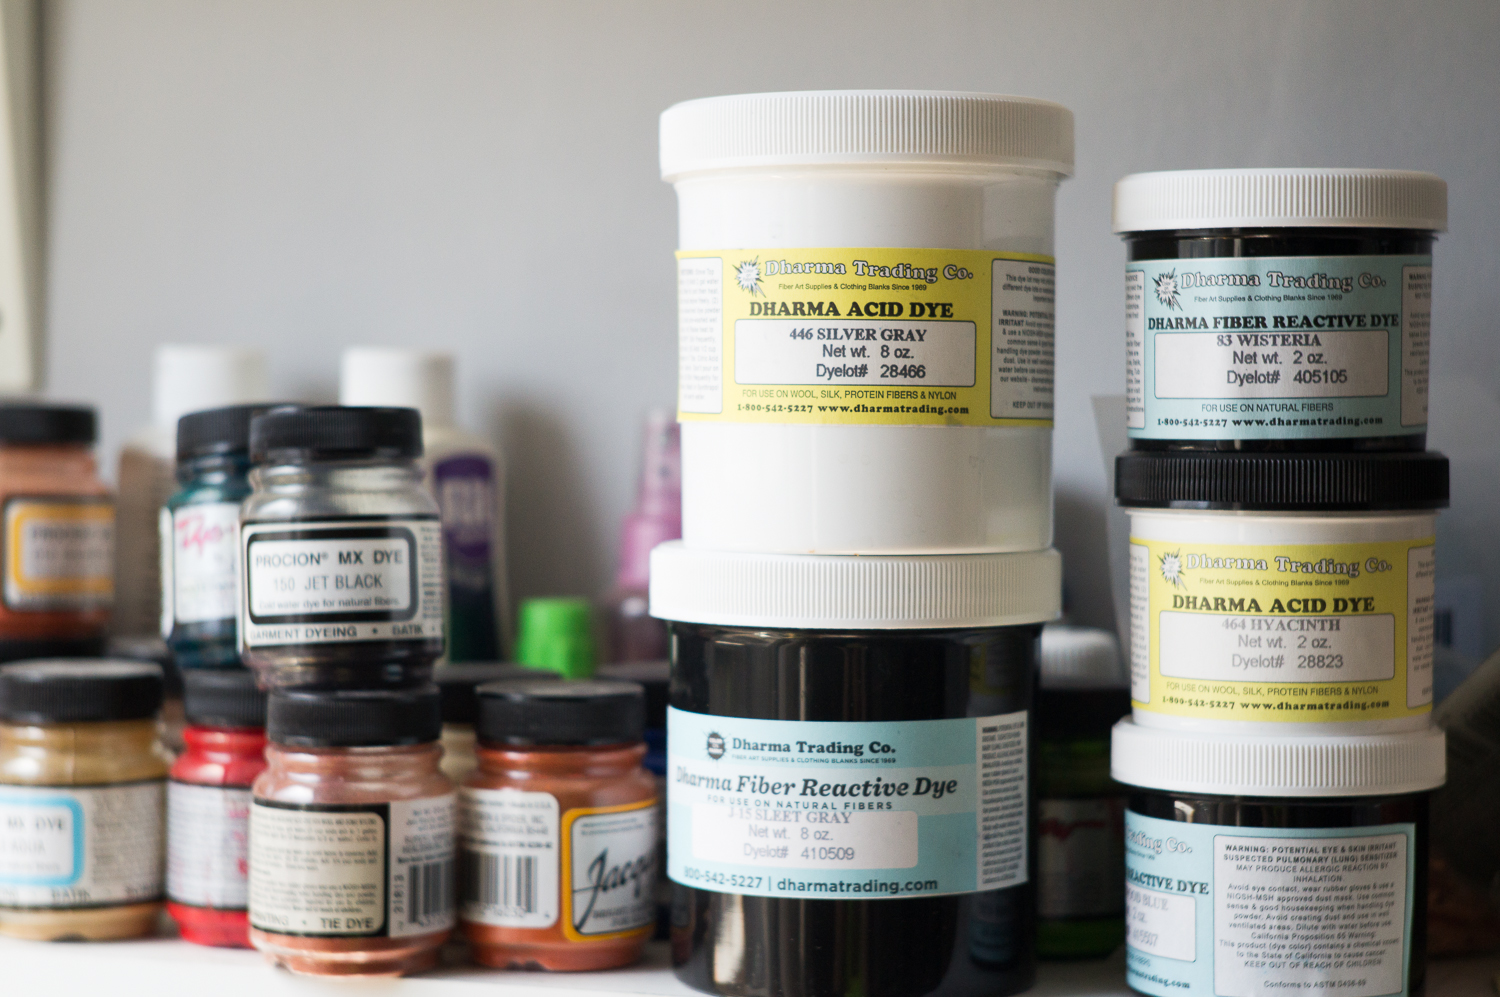
If you read my little post on discharge dyeing, you’ll remember that different fibers require different dyes. There are four main dyes that you’ll find readily available at retail and they are as follows:
Acid dyes (Pro Washfast Acid Dye, Jacquard Acid Dye): Acid dyes are used for dyeing protein fibers- so wool, silk, hair (fur), and feathers are all fair game. They also are reasonably effective on nylon. Acid dye sounds bad-ass and scary, like the Martha Stewart version of Breaking Bad. You might want to check the return policy on the HazMat suit you just bought on Amazon, though; acid dyes are quite safe. Ever had your mom put awesome streaks in your hair with Kool-Aid? That’s an acid dye.
The “acid” refers to the use of vinegar or citric acid in the dye bath. The combination of these mild acids with the acids already in the dye allows the color to be delivered more effectively to the protein fibers. Best results are obtained with hot water, but I’ve also been able to achieve great results with room-temperature baths. If you love chemistry and phrases like “alkaline groups” and “Van der Waals forces”, take a look at this great explanation about the science behind acid dyes.
Fiber reactive dyes or Procion Dyes (Jacquard Procion Mx, Dharma Procion Dyes): Fiber-reactive dyes were the first “real” dyes I learned to use. They work best on cellulose fibers (cottons, rayons, linens, hemps if you live in a commune, etc), but you can get okay results on wools and silks as well. Fiber-reactive dyes are cold-water dyes, so you don’t have to poison your family by using your cooking pots to dye t-shirts. Used in conjunction with salt and soda-ash, fiber reactive dyes are bright, brilliant, and colorfast. You can also use them with a variety of application methods: tie-dye, batik, tub dyeing, you name it.
All-Purpose Dyes (RIT All-Purpose dyes, Tintex All-Purpose dyes): Ever heard the phrase “Jack of all trades, master of none?” All-purpose dyes are basically a mix of different dyes that when combined, are meant to dye the widest variety of materials- but basically does a shitty job on all of them. That’s why anything dyed with RIT usually looks like garbage. Avoid these if possible.
Disperse dyes (RIT DyeMore, Jacquard iDye): Disperse dyes are the only game in town for dyeing polyester and acetate. These hot-water dyes are becoming more and more commercially available in a wider variety of colors- I picked up a couple bottles of RIT’s new DyeMore line and was fairly pleased with the results. They can also be used to dye plastic 3D-printed pieces.
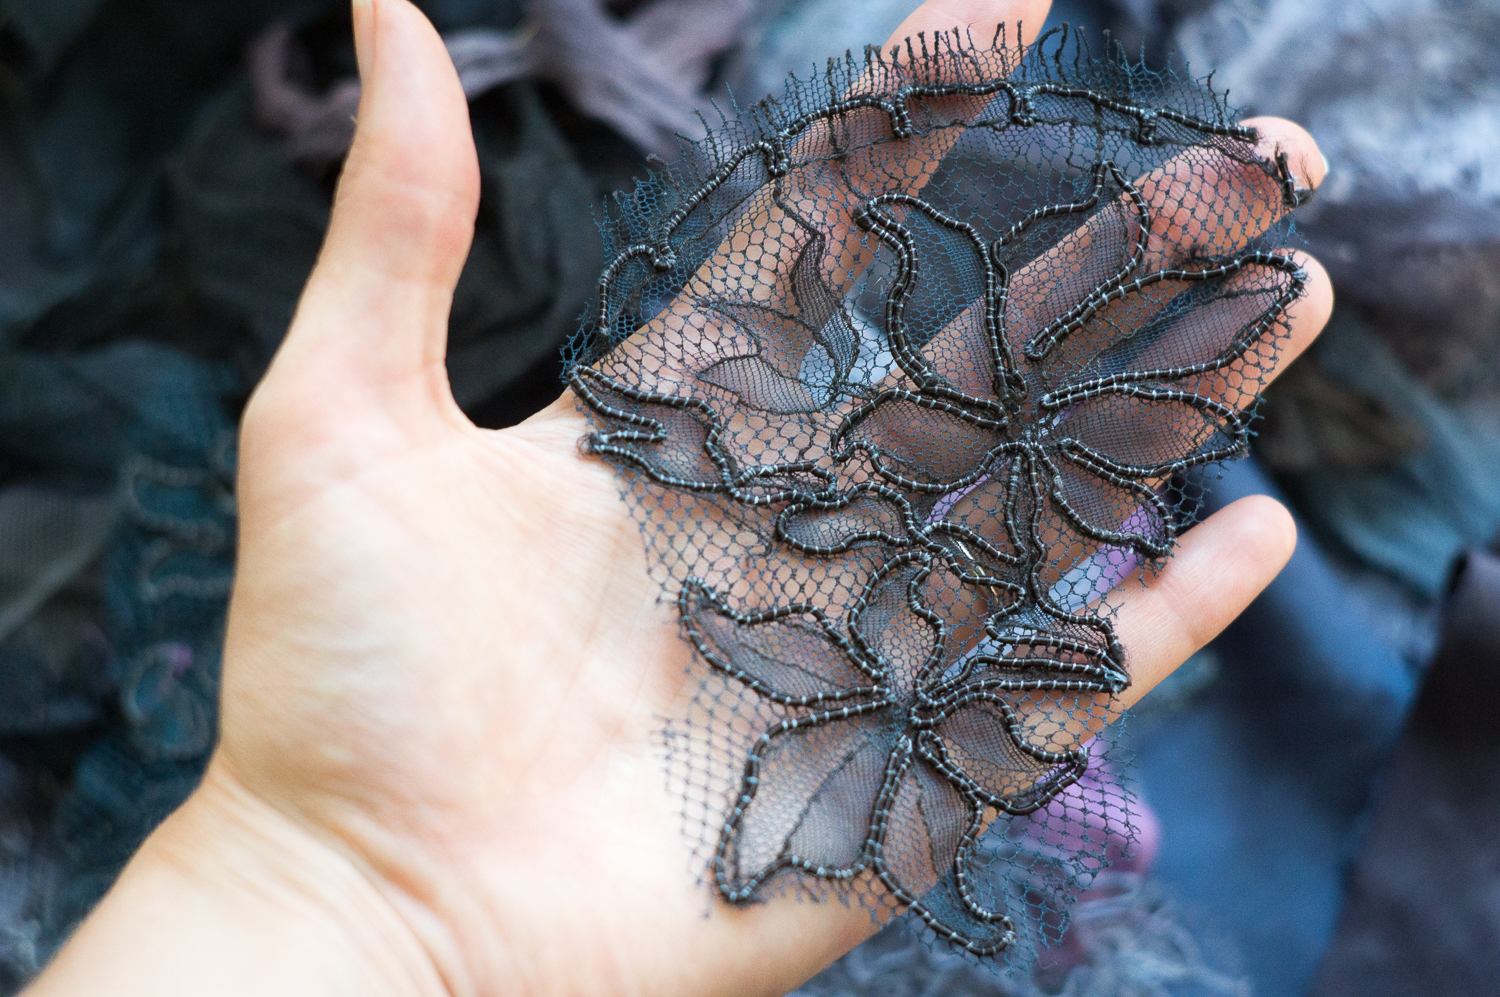 This lace was dyed with disperse dyes, but those synthetic threads STILL didn’t dye. Oh well.
Got all that? It’s a bit to digest, but once I learned how dyes worked and stopped just mixing them together and hoping for the best, my projects started turning out better.
Imagine that.
But back to me and my life. I went into my bridesmaid dyeing project with a rough idea of the colors I wanted to achieve, but very few expectations. I feel like this might be the most important thing when doing experimental dyeing. Rather than being set on achieving “blue-ish charcoal,” my aim was “a pretty color.” It makes things a lot easier and about 100x more fun.
My bridesmaid dresses had varying components that needed to be dyed, but they broke down into 3 categories: silk chiffon, silk tulle, and mystery laces. I spent nearly a whole day doing little test swatches of different formulas, dye types, and methods prior to jumping in with any significant yardage. As I guessed, the lace provided the most biggest obstacles- most laces are comprised of a variety of materials, making them a really b**** to dye. Trial and error proved to be the best method, and at the end, I think I’ve got some very pretty results.
I’m still no dye expert, but I’ve picked up a few hints and pieces of advice over the years that I think might be helpful:
1. Prewash your fabric.
Most fabrics come from the mill with sizing and other finishes to make them look more attractive. Unfortunately, this stuff also prevents fabric from dyeing evenly. You want your fabrics to be clean and ready to accept dye, so run them through the washing machine with a mild detergent, or at the very least, give them a good rinse in the tub. You need to wet your fabric before adding to a dye bath anyway, so it kills two birds.
2. The same bath will not always dye different fabrics the same way.
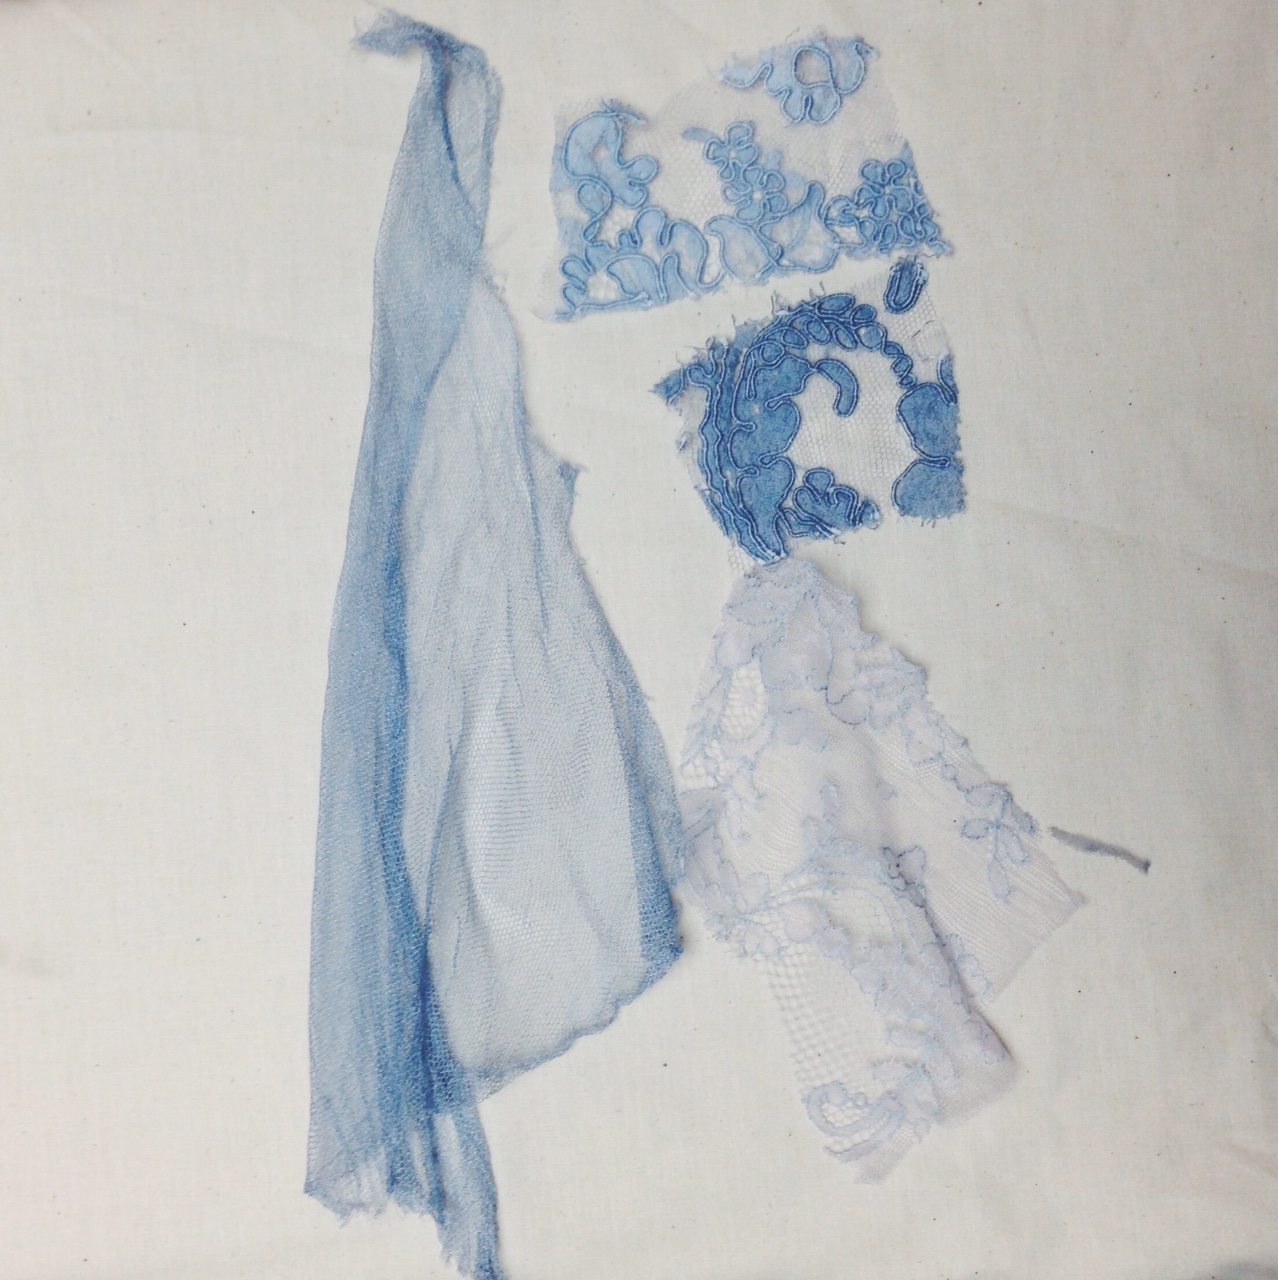 Case in point: these fabrics were all dyed in the same fiber-reactive bath for the exact same amount of time. See how different they are? Even fabrics made of the same fiber- two different silk fabrications, for example- can dye differently.
3. The same bath will not always dye the SAME fabric the same way. Time and temperature matters.
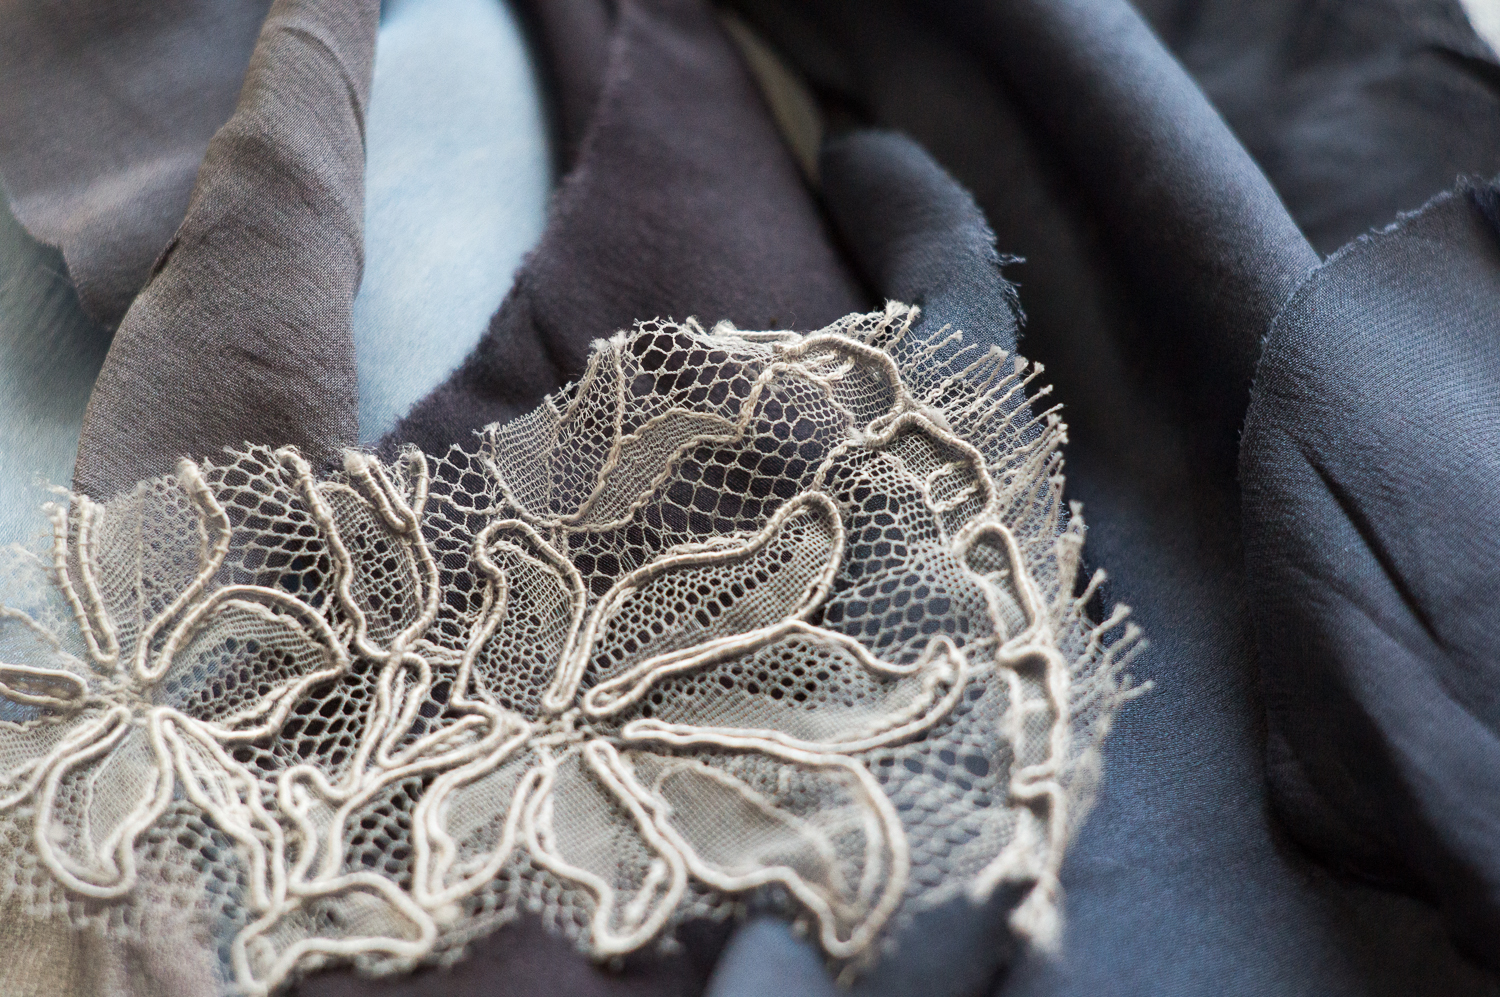
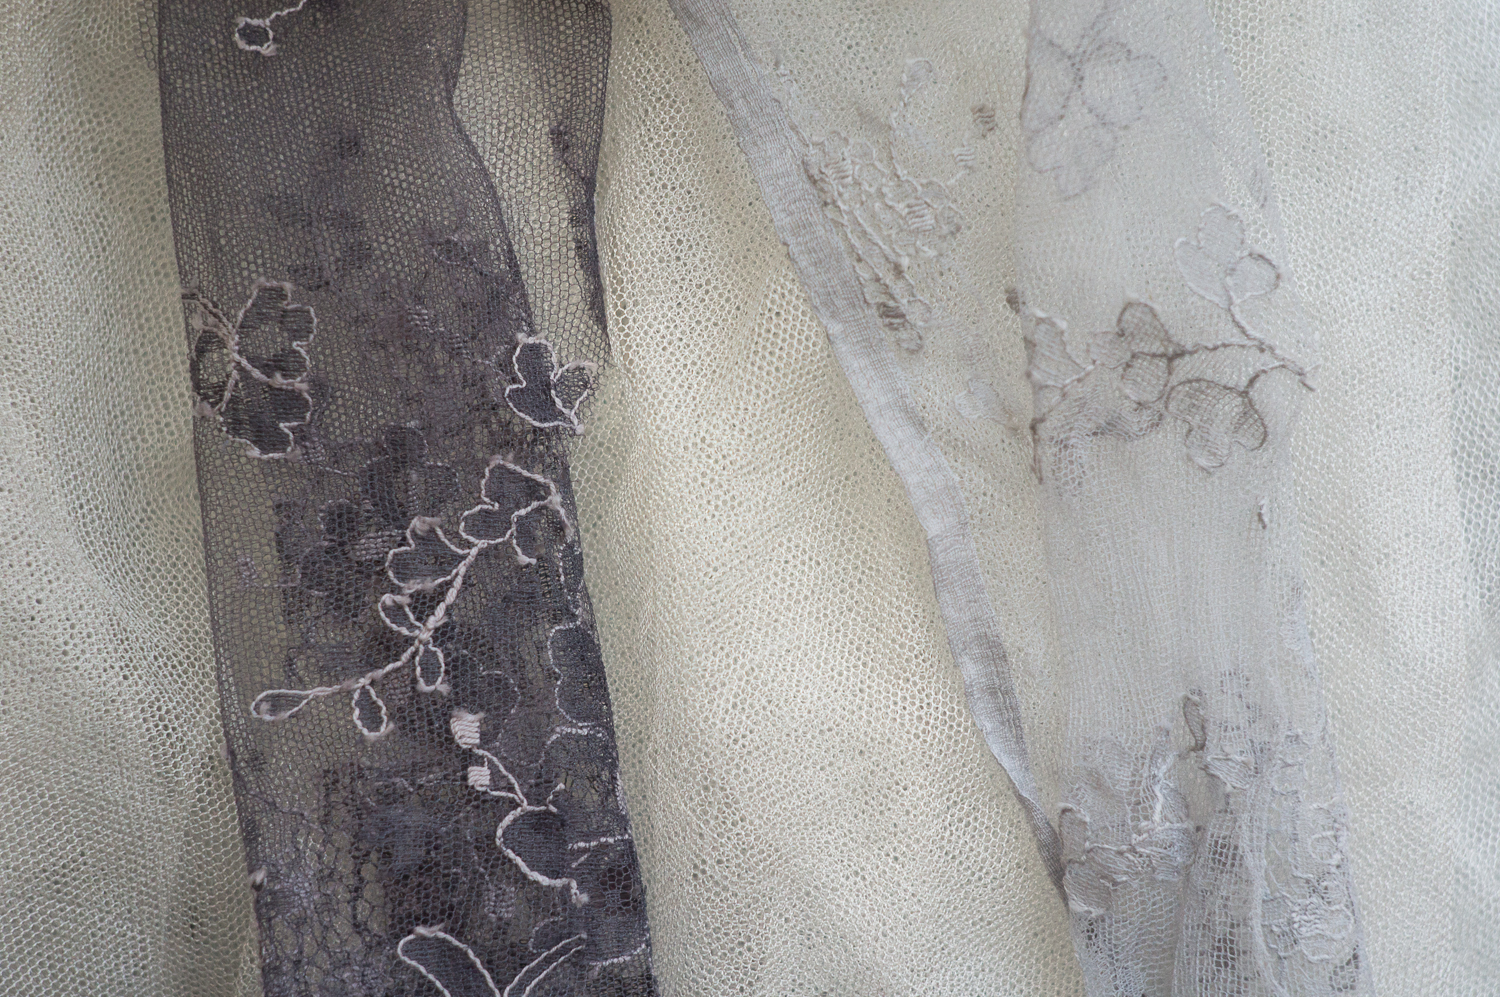 Take a look at these two laces. Believe it or not, these came from the exact same bath, an acid dye solution in charcoal gray. The difference is that the lighter piece was dyed in room temperature water and the darker, more purple piece was brought to a boil. I also forgot about it, so it was in the bath about 30 minutes later.
Even if you don’t change the temperature, don’t expect to be able to use the same bath for subsequent dye batches and get the same results. Dyes get spent as they are used, and different colors are exhausted at different rates, so a second batch in the same dye bath will likely look very different than the first batch. Make up a new solution for each batch if color matching is essential.
4. Dye in a vessel large enough for your fabric to move freely.
Agitation is as important as the dye solution itself to achieving a good result. You need to be stirring your fabric frequently to ensure an even result. It also makes your life easier to not be sloshing permanent dyes all over your floors or stove as you try to stir 6 yards of fabric in a 5 quart pot (don’t ask how I know).
5. Rinse thoroughly and dry before making any color assessments.
When you scoop your piece out of the dye, you’re going to be all like, “Woah, this is so dark and saturated! Awesome!” Then you’ll rinse it and let it dry, and it’s about 60,000 times lighter and less saturated.
So, when I’m doing dye samples, I like to have my iron plugged in and ready to go. After I throughly rinse a swatch, I press it until it’s dry- that way, I can see immediately if I’ve achieved the color I want, or if I need to give it a little more time. I do this with big yardage too- I’ll snip a little corner from the piece in the dye bath and rinse and dry it to determine if it’s ready to be pulled. It saves a lot of time and effort, as well as avoids disappointment.
6. Don’t mix dye types in the same bath.
Because then you end up with basically just shitty RIT All-Purpose Dye.
If you want to achieve a mix of colors from two different dye types, do it in two stages. I got this color by dyeing first with a fiber reactive dye in a blue color, then over dyeing with an acid dye in a charcoal bath. It’s twice the work, yes, but it’s also going to yield a far superior result.
Was that enough information, or should I write 10,000 more words about it?
Go forth, young dyer. Be creative, follow some semblance of instructions, and have fun.
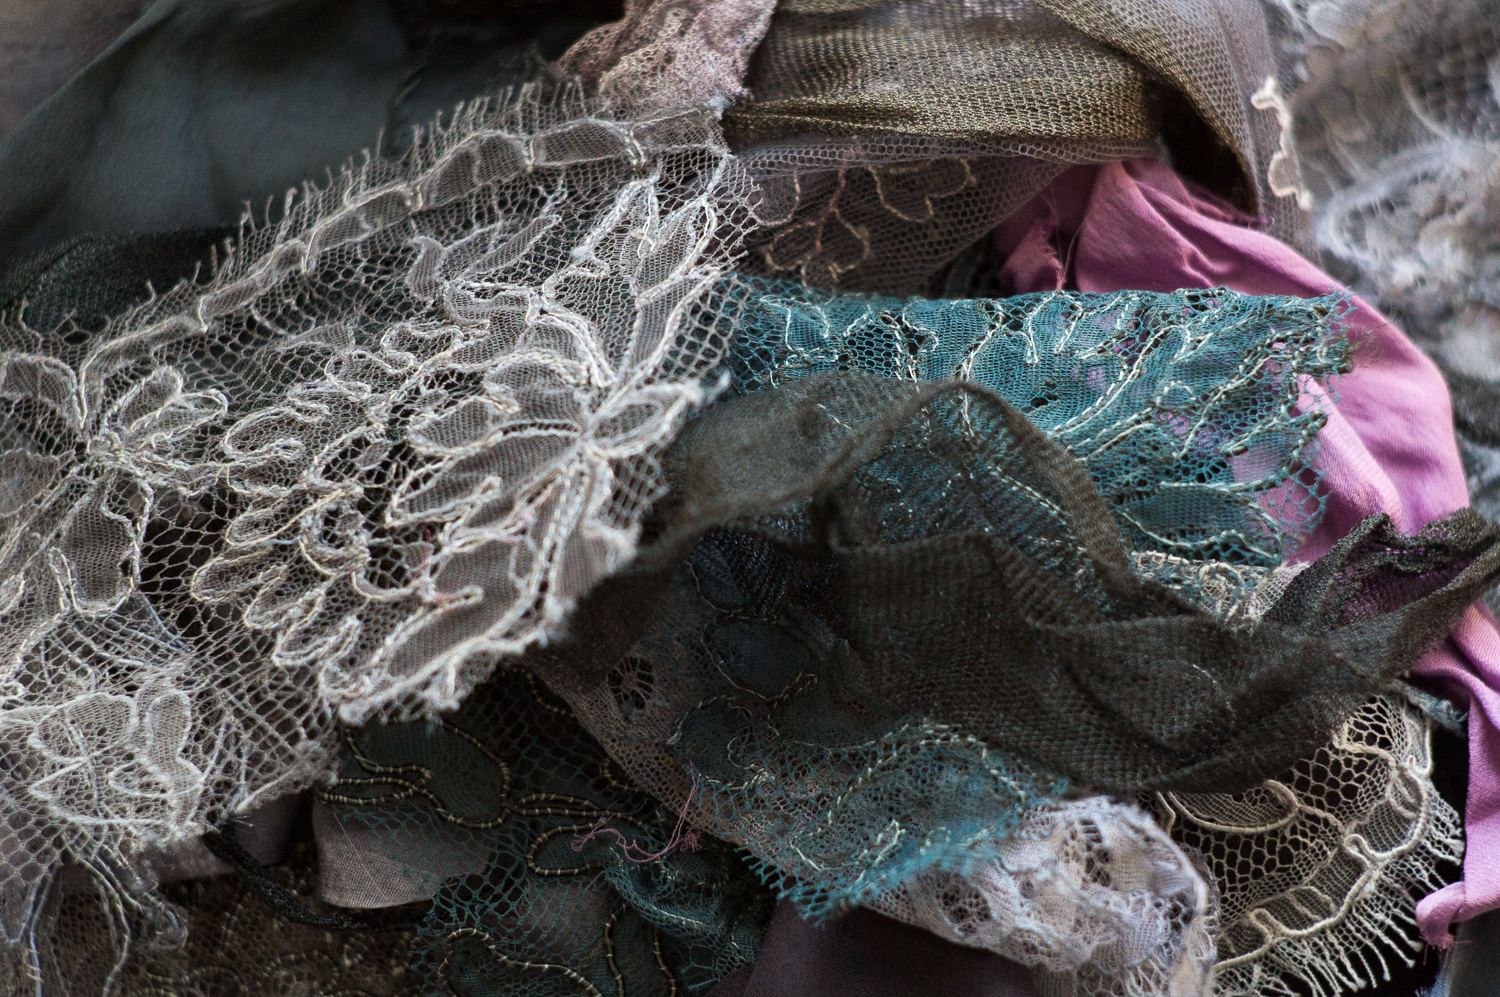 One of these things is not like the other- that magenta swatch was a BIG surprise.